The Windows 11 Print Screen Snipping Tool is a powerful utility that allows you to capture and annotate screenshots with ease. Whether you need to capture a full-screen snip, a specific window, or a free-form area, the Snipping Tool has you covered. In this comprehensive guide, we will explore everything you need to know about using this tool effectively.
Understanding the Windows 11 Print Screen Snipping Tool
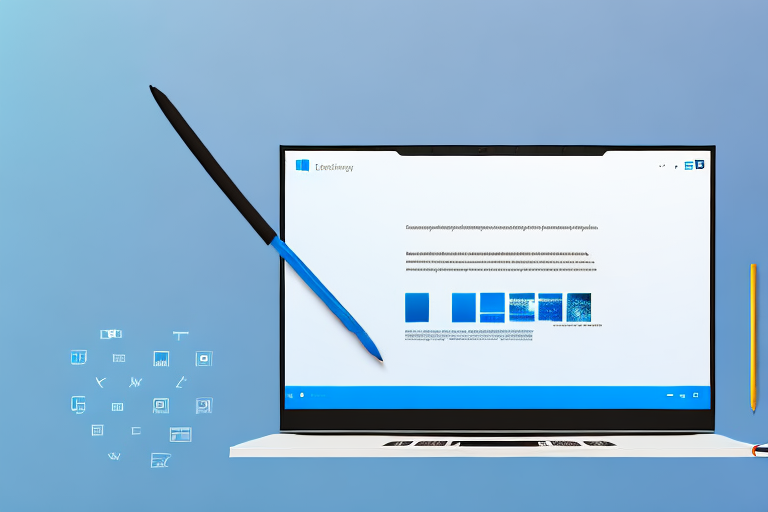
The Windows 11 Print Screen Snipping Tool is a versatile screen capture tool that comes pre-installed on the latest version of Windows. It offers several key features that make capturing and annotating screenshots a breeze.
When it comes to capturing screenshots, the Snipping Tool provides a variety of options to suit your needs. One of its main features is the ability to capture different types of snips. You can take a full-screen snip, which captures everything displayed on your monitor, allowing you to capture the entire content of a webpage or application. Alternatively, you can choose to capture only a specific window, perfect for focusing on a particular program or dialogue box. If you need even more precision, the Snipping Tool allows you to create a free-form snip, enabling you to capture a selected area of your screen with utmost accuracy.
Furthermore, the Snipping Tool provides a range of annotation tools to enhance your snips. After capturing a screenshot, you can unleash your creativity by using the pen tool to draw on your snip. Whether you want to emphasize a specific detail or add a personal touch, the pen tool gives you the freedom to express yourself. Additionally, the highlighter tool allows you to emphasize important information by overlaying a translucent color over your snip. This feature is particularly useful when you want to draw attention to specific text or images. And if you make a mistake or decide to remove any unwanted annotations, fear not! The Snipping Tool also offers an eraser tool, allowing you to easily erase any marks or highlights you no longer need.
Differences from Previous Windows Versions
While the Snipping Tool on Windows 11 retains many of the familiar features from previous versions, there are a few differences worth noting. Firstly, the Snipping Tool now boasts an improved user interface that is more streamlined and user-friendly. The updated interface makes it even easier to navigate through the tool’s various options and settings, ensuring a seamless snipping experience.
Additionally, the Snipping Tool in Windows 11 offers better integration with other Windows applications, enhancing your productivity and workflow. With just a few clicks, you can now save your snips directly to popular cloud storage services like OneDrive or Google Drive, ensuring that your screenshots are easily accessible from any device. Furthermore, the tool provides seamless integration with popular image editing software, allowing you to open your snips directly in programs like Adobe Photoshop or GIMP for further editing and customization.
Another notable difference in Windows 11 is the improved sharing capabilities of the Snipping Tool. With just a few simple steps, you can now share your snips directly to social media platforms like Facebook, Twitter, or Instagram, making it effortless to showcase your captured moments or share important information with others.
In conclusion, the Windows 11 Print Screen Snipping Tool is a powerful and user-friendly tool that simplifies the process of capturing and annotating screenshots. With its versatile snipping options and intuitive annotation tools, it empowers users to capture and enhance their screen captures with ease. Whether you’re a student, professional, or simply someone who enjoys sharing visual content, the Snipping Tool is an invaluable asset that will undoubtedly enhance your Windows 11 experience.
Setting Up the Snipping Tool on Windows 11
Before you start using the Snipping Tool, you may need to locate it on your Windows 11 device and configure some settings to suit your preferences.
The Snipping Tool is a handy utility that allows you to capture screenshots or snips of your screen. Whether you want to save an important piece of information, highlight a specific area, or share something interesting with others, the Snipping Tool is a versatile tool that can help you accomplish these tasks with ease.
Locating the Snipping Tool
The Snipping Tool can be easily found on your Windows 11 device by simply clicking on the Start menu and typing “Snipping Tool” in the search bar. Once you locate it, you can pin it to your taskbar for quick and easy access in the future.
Once you have located the Snipping Tool, you will be greeted with a user-friendly interface that allows you to choose from various snipping options. You can capture a rectangular snip, a free-form snip, a window snip, or even a full-screen snip. This flexibility ensures that you can capture exactly what you need, whether it’s a specific area or the entire screen.
Configuring the Snipping Tool Settings
To make the most of the Snipping Tool, it’s helpful to configure the tool’s settings to match your specific needs. By default, the Snipping Tool saves snips as PNG files, but you can change the default save format to JPEG or GIF if desired. This can be particularly useful if you plan on sharing your snips online or via email, as certain platforms or recipients may have specific file format requirements.
In addition to the save format, you can also adjust other settings within the Snipping Tool. For example, you can choose where the snips are saved on your device, allowing you to easily organize and locate them later. You can also decide whether to include a time stamp on each snip, which can be helpful for tracking when a particular snip was captured.
Furthermore, the Snipping Tool offers a range of annotation tools that enable you to enhance your snips. You can use the pen tool to draw attention to specific areas, the highlighter tool to emphasize important text or details, and the eraser tool to make corrections or remove unwanted annotations. These tools give you the flexibility to customize your snips and make them more informative or visually appealing.
With the Snipping Tool properly set up and configured, you are now ready to start capturing and saving snips of your screen. Whether you’re a student, professional, or simply someone who enjoys sharing interesting content, the Snipping Tool is a valuable tool that can greatly enhance your productivity and communication.
Using the Snipping Tool for Screen Capture
Once you have set up the Snipping Tool to your liking, you can start capturing screenshots using the various snip options available.
Taking a Full-Screen Snip
A full-screen snip captures everything displayed on your screen at the moment you take the snip. To take a full-screen snip, simply open the Snipping Tool, click on the “New” button, and select the full-screen snip option. The Snipping Tool will capture the snip instantly, and you can then annotate or save it as needed.
Capturing a Window Snip
If you only want to capture a specific window, you can use the window snip option. To do this, open the Snipping Tool, click on the “New” button, and choose the window snip option. The Snipping Tool will display a list of open windows for you to select. Once you select a window, the Snipping Tool will capture the contents of that window, allowing you to annotate or save the snip.
Creating a Free-Form Snip
For more precise screen captures, you can create a free-form snip that allows you to select a specific area of your screen. To do this, open the Snipping Tool, click on the “New” button, and select the free-form snip option. Then, use your mouse to draw a free-form shape around the area you want to capture. Once you release the mouse button, the Snipping Tool will capture the selected area, and you can edit or save the snip as desired.
Editing and Annotating with the Snipping Tool
After capturing a snip, you can take advantage of the Snipping Tool’s built-in annotation tools to enhance your screenshots.
Using the Pen and Highlighter Tools
The pen tool allows you to draw freehand on your snip, while the highlighter tool lets you emphasize specific portions of the image. You can choose from different colors and line thicknesses to customize your annotations. These tools are particularly useful when you need to highlight important details or draw attention to specific areas of your snip.
Erasing and Undoing Changes
If you make a mistake or want to remove some annotations, the Snipping Tool offers an eraser tool. With the eraser tool, you can selectively remove any unwanted drawings or highlights from your snip. Additionally, the Snipping Tool allows you to undo changes made using the annotation tools, ensuring that you can easily revert back to a previous state if needed.
Saving and Sharing Snips
Once you have captured and annotated your snips to perfection, you may want to save and share them for later use or collaboration purposes.
Saving Snips in Different Formats
The Snipping Tool allows you to save your snips in various file formats, including PNG, JPEG, and GIF. To save a snip, simply click on the “Save” button and choose your preferred file format. You can also customize the save location to ensure your snips are stored in a convenient location.
Sharing Snips via Email or Cloud
If you want to share your snips with others, the Snipping Tool offers convenient options for email and cloud sharing. With just a few clicks, you can send your snips via email or upload them to popular cloud storage services for easy accessibility and collaboration.
By mastering the Windows 11 Print Screen Snipping Tool and its various features, you can streamline your screen capture and annotation workflow. Whether you need to create instructional materials, report bugs, or simply capture special moments, the Snipping Tool is an invaluable tool for any Windows 11 user. Start using the Snipping Tool today and elevate your screenshot game to new heights!
Take Your Screenshots to the Next Level with GIFCaster
Ready to add a dash of fun to your screen captures? With GIFCaster, you can bring your screenshots to life by adding animated GIFs. Transform mundane work messages into delightful visual experiences and express yourself creatively. Don’t just capture your screen—make it speak with personality! Use the GIFCaster App today and start turning your static images into engaging, animated conversations.