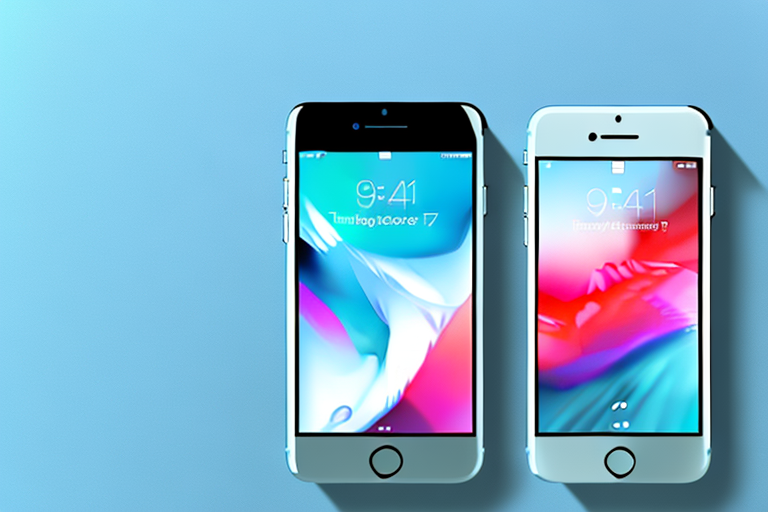
Taking a screenshot on your iPhone 7 is a simple and useful feature that allows you to capture and save moments from your phone’s screen. Whether you want to capture a funny conversation, save important information, or share something interesting with your friends, knowing how to take a screenshot can be a valuable skill. In this article, we will guide you through the process of taking a screenshot on your iPhone 7, step by step.
Understanding the Basics of Screenshots
Before we dive into the details, let’s start by understanding what exactly a screenshot is. A screenshot is essentially a digital image of what is currently being displayed on your iPhone’s screen. It captures everything visible on the screen, including apps, images, text messages, or web pages. It’s a simple and effective way to save and share information from your device.
Now let’s explore why taking screenshots is a useful feature. There are numerous situations where a screenshot can come in handy. For example, if you come across an interesting article that you want to read later, you can quickly capture a screenshot of it. This way, you can have a visual reminder of the article and easily access it when you have the time.
Additionally, taking screenshots can be beneficial when you need to provide visual evidence. Let’s say you’re facing a technical issue with your device and need assistance from customer support. Instead of trying to explain the problem in words, you can take a screenshot of the error message or the specific issue you’re encountering. This visual evidence can greatly help the support team in understanding the problem and providing you with a more accurate solution.
Moreover, screenshots can be a valuable tool for collaboration and communication. Whether you’re working on a project with colleagues or sharing information with friends and family, screenshots can help you convey your message more effectively. For instance, if you’re discussing a website design with your team, you can capture screenshots of different elements and annotate them to highlight specific areas of interest or concern.
Furthermore, screenshots can be used for educational purposes. If you’re writing a tutorial or a step-by-step guide, including screenshots can make it easier for your audience to follow along. Visual aids can enhance the learning experience and ensure that your instructions are clear and concise.
In addition to their practical uses, screenshots can also be a fun way to capture and preserve memories. Whether it’s a funny conversation with a friend, a beautiful sunset, or a milestone achievement in a game, screenshots allow you to freeze a moment in time and revisit it whenever you want.
Lastly, it’s worth mentioning that taking screenshots is not limited to just iPhones. Most smartphones, tablets, and computers have built-in screenshot functionalities. So regardless of the device you’re using, you can take advantage of this feature to capture and share information effortlessly.
Preparing Your iPhone 7 for Screenshots
Before you start taking screenshots, it’s important to make sure your iPhone 7 is set up correctly. Let’s go through a couple of steps to ensure everything is in order.
Checking Your iPhone’s Settings
The first thing you need to do is check your iPhone’s settings to ensure that the screenshot feature is enabled. To do this, go to Settings > General > Accessibility. Scroll down until you find the “Interactions” section and tap on “AssistiveTouch.” Make sure the “AssistiveTouch” toggle is turned on. This will add a virtual button to your screen, which we’ll use later to take screenshots.
Once you have enabled the AssistiveTouch feature, you can customize its settings to suit your needs. You can choose where the virtual button appears on your screen, adjust its transparency, and even assign different actions to it. Take some time to explore these options and find the configuration that works best for you.
Additionally, while you’re in the Accessibility settings, you may want to explore other features that can enhance your iPhone experience. For example, you can enable VoiceOver to have your iPhone read aloud the text on your screen, or enable Zoom to magnify the display for better visibility.
Ensuring Your Screen Display is Correct
Another important aspect to consider is the display quality of your iPhone 7. To ensure that your screenshots look clear and accurate, it’s recommended to adjust your screen brightness and clean your screen to remove any smudges or fingerprints that could affect the image quality.
Adjusting the screen brightness can be done easily by swiping up from the bottom of your screen to access the Control Center. From there, you can drag the brightness slider to increase or decrease the brightness level. Finding the right balance of brightness will not only improve the quality of your screenshots but also enhance your overall viewing experience.
When it comes to cleaning your screen, it’s important to use a soft, lint-free cloth to avoid scratching the display. You can dampen the cloth slightly with water or use specialized screen cleaning solutions. Gently wipe the screen in a circular motion to remove any dirt, smudges, or fingerprints. Taking a few moments to clean your screen regularly will ensure that your screenshots showcase your iPhone’s true capabilities.
In addition to cleaning your screen, you may also want to consider using a screen protector to prevent scratches and smudges. There are various types of screen protectors available, including tempered glass and film protectors. These can provide an extra layer of protection for your iPhone’s screen, ensuring that your screenshots always look pristine.
Step-by-Step Guide to Taking a Screenshot
Now that your iPhone 7 is ready, let’s walk through the process of capturing a screenshot.
Before we begin, it’s important to note that taking a screenshot on an iPhone 7 is a simple and convenient way to capture and save information from your device’s screen. Whether you want to capture a funny conversation, save an important document, or share a memorable moment from a video, knowing how to take a screenshot can be incredibly useful.
Locating the Necessary Buttons
To take a screenshot on your iPhone 7, you’ll need to press two physical buttons simultaneously: the Sleep/Wake button and the Volume Up button. The Sleep/Wake button is located on the right side or top of your device, depending on your iPhone 7 model. This button, also known as the power button, is used to turn your device on or off, as well as to lock or wake the screen. The Volume Up button can be found on the left side of your device. This button is used to increase the volume of your device’s audio.
Before you proceed to the next step, take a moment to familiarize yourself with these buttons. Knowing their exact locations will make it easier for you to capture screenshots effortlessly in the future.
Timing Your Screenshot Correctly
Once you’re ready to take a screenshot, position your device in a way that you can press both buttons comfortably. It’s important to note that timing is crucial here. Press and release the Sleep/Wake button and the Volume Up button simultaneously, but make sure not to hold them down for too long. Holding the buttons for an extended period of time may trigger other actions, such as turning off your device or activating the Emergency SOS feature.
When you press the buttons correctly, you should see a flash on your screen and hear a camera shutter sound, indicating that the screenshot has been successfully captured. The flash and sound mimic the experience of using a traditional camera, adding a touch of familiarity to the process.
It’s worth mentioning that the screenshot will be saved directly to your device’s Camera Roll, which can be accessed through the Photos app. From there, you can edit, share, or delete the screenshot as desired. Additionally, if your iPhone 7 is connected to iCloud, the screenshot will be automatically synced across all your devices, allowing you to access it from anywhere.
Now that you have mastered the art of taking a screenshot on your iPhone 7, you can capture and preserve important information, memorable moments, or anything else that catches your eye. Whether you’re a student, professional, or simply a tech enthusiast, this skill will undoubtedly come in handy in various situations.
Accessing and Managing Your Screenshots
After taking a screenshot, you may wonder where it is saved and how to access it. Let’s explore how to find, view, and manage your screenshots on your iPhone 7.
Finding Your Screenshots in Photos
All the screenshots you take on your iPhone 7 are automatically saved in the Photos app. To access your screenshots, open the Photos app from your home screen, then tap on the “Albums” tab at the bottom. Scroll down and look for the “Screenshots” album. Tap on it, and you’ll find all your captured screenshots organized chronologically. From here, you can view, edit, or share your screenshots as desired.
Editing and Sharing Your Screenshots
Once you’ve located your screenshot, you have the option to edit it before sharing. Tap on the screenshot to open it, then tap on the “Edit” button at the top right corner of the screen. The editing tools allow you to crop, rotate, add text, draw, or apply filters to your screenshot. When you’re satisfied with the edits, tap on “Done” to save your changes. To share your screenshot, tap on the share icon at the bottom left corner of the screen and choose the desired sharing method, such as sending it via a message, email, or uploading it to social media.
Troubleshooting Common Issues
While taking a screenshot on your iPhone 7 is usually a simple process, you may encounter some common issues along the way. Let’s explore possible solutions for a smooth screenshot experience.
What to Do if Screenshots Aren’t Working
If you’re having trouble capturing screenshots, there are a few things you can try. First, make sure you’re pressing the Sleep/Wake button and the Volume Up button simultaneously. If that doesn’t work, try restarting your iPhone 7 by holding down the Sleep/Wake button and following the on-screen prompts.
Solving Other Common Screenshot Problems
If you’re experiencing other issues with your screenshots, such as blurry images or partial captures, double-check your iPhone’s settings, especially the screen brightness and display calibration. Additionally, ensure that you have enough available storage space on your device to save the screenshots.
In conclusion, taking a screenshot on your iPhone 7 is a useful skill that can enhance your ability to capture and share important information or memorable moments. By following the steps outlined in this article, you’ll be able to take screenshots effortlessly and manage them efficiently. Happy screenshotting!
Enhance Your Screenshots with GIFCaster
Now that you’re a pro at capturing screenshots on your iPhone 7, why not take your creativity to the next level? With GIFCaster, you can add a touch of fun and personality to your screenshots by incorporating animated GIFs. Whether you’re looking to spice up a work message or share a laugh with friends, GIFCaster lets you express yourself in unique and engaging ways. Start using the GIFCaster App today and turn your ordinary screenshots into extraordinary conversations!