Are you wondering how to take screenshots on your iPad 8? Look no further! In this comprehensive guide, we will walk you through the step-by-step process of capturing and editing screenshots on your device. Whether you’re a tech-savvy individual or a beginner, this guide will provide all the information you need to become a screenshot pro on your iPad 8.
Understanding the Basics of iPad 8
Before we dive into the screenshot-taking process, let’s start by familiarizing ourselves with the key features and interface of the iPad 8. Let’s explore what makes this device stand out among its predecessors.
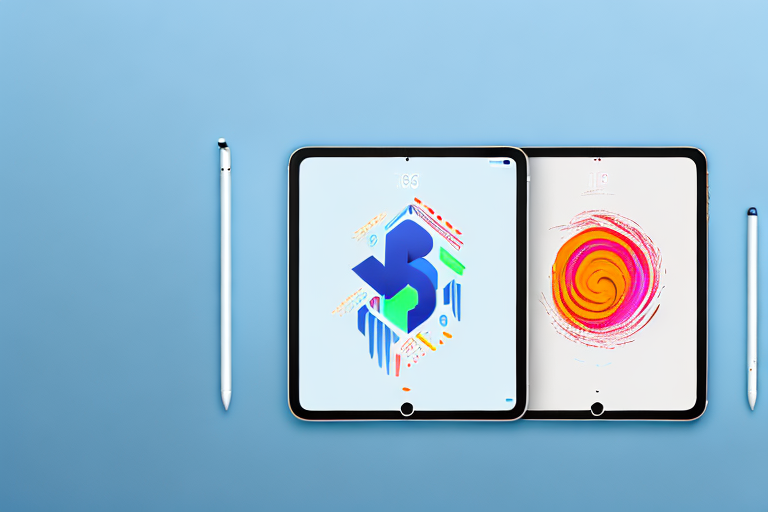
The iPad 8, the latest iteration of Apple’s iconic tablet, brings a host of exciting features and improvements to the table. With its sleek design and powerful performance, it offers a seamless user experience that is sure to impress both new and existing iPad users.
Key Features of iPad 8
The iPad 8 boasts several impressive features that enhance its functionality and performance. One of the standout features is its powerful A12 Bionic chip, which delivers lightning-fast performance and allows you to multitask with ease. Whether you’re browsing the web, streaming videos, or playing graphics-intensive games, the iPad 8 can handle it all without breaking a sweat.
Another notable feature of the iPad 8 is its stunning Retina display. With a resolution of 2160 x 1620 pixels and True Tone technology, the display offers vibrant colors, sharp details, and excellent viewing angles. Whether you’re reading an e-book, editing photos, or watching your favorite movies, the iPad 8’s display ensures a visually immersive experience.
In addition to its powerful processor and impressive display, the iPad 8 also comes equipped with an 8-megapixel rear camera and a 1.2-megapixel front camera. These cameras allow you to capture stunning photos and videos, as well as engage in video calls with friends and family.
Furthermore, the iPad 8 offers support for the Apple Pencil, allowing you to take notes, draw, and create with precision. Whether you’re a student, artist, or professional, the Apple Pencil expands the possibilities of what you can do with your iPad 8.
Navigating the iPad 8 Interface
Getting comfortable with the iPad 8 interface is essential for taking screenshots efficiently. Familiarize yourself with the gestures and controls to navigate seamlessly through your device.
The iPad 8 features a user-friendly interface that is intuitive and easy to navigate. With just a swipe or a tap, you can access your favorite apps, switch between tasks, and customize your device to suit your preferences.
One of the key gestures on the iPad 8 is the swipe-up gesture, which allows you to access the app switcher and quickly switch between recently used apps. This gesture is particularly useful when you’re multitasking and need to switch between different tasks on the fly.
Another useful gesture is the pinch-to-zoom gesture, which allows you to zoom in or out on content such as photos, web pages, and documents. This gesture is handy when you want to get a closer look at something or view more details.
In addition to gestures, the iPad 8 also features a range of controls that make it easy to adjust settings, control media playback, and perform other actions. These controls include the volume buttons, the power button, and the home button (or the side button on newer iPad models).
Overall, the iPad 8 offers a user-friendly interface that is designed to enhance your productivity and make your iPad experience enjoyable. With its intuitive gestures and controls, you’ll be able to navigate through your device with ease and take full advantage of its features.
Preparing Your iPad for Screenshots
Before we begin taking screenshots, let’s ensure that your iPad is properly configured and up to date. By following these simple steps, you can guarantee optimal screenshot functionality.
Checking Your iPad’s Settings
Access your iPad’s settings to ensure that the necessary options for screenshots are enabled. You need to verify that your device is ready to capture your screen effortlessly.
When you navigate to your iPad’s settings, you will find a variety of options that can be customized to enhance your screenshot experience. One important setting to check is the “AssistiveTouch” feature. This feature allows you to create a virtual button on your screen, making it easier to take screenshots with a single tap. By enabling AssistiveTouch, you can save time and capture screenshots more efficiently.
Additionally, you should also check the “Screenshots” option in your settings. This option allows you to choose where your screenshots are saved, whether it’s in the Photos app or a specific folder. By selecting the desired location, you can keep your screenshots organized and easily accessible.
Ensuring Your iPad is Updated
Keeping your iPad’s software up to date is crucial for proper functioning, including screenshotting capabilities. Learn how to check for updates and ensure that your device has the latest software installed.
To check for updates on your iPad, go to the “Settings” app and tap on “General.” Then, select “Software Update.” Your iPad will automatically check for any available updates. If there is an update available, make sure to download and install it. These updates often include bug fixes and performance improvements, which can enhance your screenshot experience.
It’s important to note that updating your iPad’s software not only improves screenshot functionality but also provides you with the latest security patches and features. By keeping your device up to date, you can ensure a smooth and secure user experience.
Once you have completed these steps, you can be confident that your iPad is ready to capture screenshots effortlessly. Whether you’re documenting important information, sharing funny moments, or troubleshooting, having a well-prepared iPad ensures that you can capture and save those moments with ease.
The Process of Taking a Screenshot on iPad 8
Now that you’ve prepared your iPad, it’s time to learn how to take screenshots effectively. There are two main methods you can use, so choose the one that suits you best.
Using the Button Combination Method
This method involves using a combination of buttons on your iPad to capture screenshots. We’ll walk you through each step, making it a breeze for you to take screenshots whenever you need them.
First, locate the power button on the top right corner of your iPad. This is the button you usually use to turn your device on or off. Next, find the home button, which is located on the front of your iPad, below the screen. These two buttons will be your key to capturing screenshots.
To take a screenshot using the button combination method, follow these steps:
- Open the app or screen that you want to capture.
- Position your fingers on the power button and the home button.
- Press both buttons simultaneously and release them quickly.
- You will see a flash on the screen, indicating that the screenshot has been taken.
- To access the screenshot, go to the Photos app on your iPad and look for the “Screenshots” album. Your captured screenshots will be stored there.
Using the button combination method is a straightforward and reliable way to capture screenshots on your iPad. It’s especially useful when you need to capture something quickly or if you prefer the traditional method of using physical buttons.
Using the AssistiveTouch Method
If you prefer a more convenient and customizable way of taking screenshots, the AssistiveTouch method is for you. AssistiveTouch is a feature on your iPad that creates a virtual button on your screen, allowing you to perform various functions with just a few taps.
To enable AssistiveTouch and take screenshots using this method, follow these steps:
- Go to the “Settings” app on your iPad.
- Tap on “Accessibility” in the left sidebar.
- Scroll down and select “Touch” under the “Physical and Motor” section.
- Tap on “AssistiveTouch” and toggle the switch to turn it on.
- A virtual button will appear on your screen. You can tap and drag it to reposition it anywhere you like.
- To take a screenshot using AssistiveTouch, follow these steps:
- Open the app or screen that you want to capture.
- Tap on the AssistiveTouch button on your screen.
- A menu will appear with various options. Tap on “Device”.
- Another menu will appear. Tap on “More”.
- Finally, tap on “Screenshot”.
- The screenshot will be taken, and you can find it in the “Screenshots” album in the Photos app.
The AssistiveTouch method offers a more flexible and customizable way of taking screenshots on your iPad. You can even set up custom gestures or shortcuts to make the process even faster and more efficient.
Now that you know both methods, you can choose the one that suits your preferences and needs. Whether you prefer the traditional button combination method or the convenience of AssistiveTouch, capturing screenshots on your iPad 8 has never been easier.
Editing and Sharing Your Screenshots
Now that you’ve captured your screenshots, it’s time to enhance and share them. We’ll explore the various options available for accessing, editing, and sharing your screenshots.
Accessing Your Screenshots
Find out where your screenshots are stored on your iPad and how to access them effortlessly. You’ll never have to struggle to locate your captured images again.
Basic Editing Tools for Screenshots
Discover the built-in editing tools available on your iPad to enhance your screenshots. From cropping to adding annotations, you can make your screenshots more informative and visually appealing.
Sharing Screenshots via Different Platforms
Learn how to easily share your screenshots with others. Whether you prefer sending them via email, social media, or instant messaging, you’ll become proficient in sharing your content with just a few taps.
Troubleshooting Common Issues
Encounter any difficulties or stumbling blocks while taking screenshots on your iPad 8? Don’t worry; we’ve got you covered. Below, we address some common issues and provide solutions to ensure a seamless screenshotting experience.
What to Do When Screenshots Aren’t Saving
If your screenshots aren’t saving properly, it can be frustrating. We’ll guide you through troubleshooting steps to help you identify and resolve this issue.
Fixing Unresponsive Buttons
Buttons on your iPad suddenly stop responding? We’ll show you potential causes and solutions to get your buttons working again and ensure uninterrupted screenshot functionality.
Addressing Other Common Problems
In addition to the above issues, we’ll cover a few other common problems you may encounter while taking screenshots. Stay prepared and informed to overcome these hurdles with ease.
By the end of this comprehensive guide, you’ll possess all the knowledge and skills needed to screenshot like a pro on your iPad 8. Whether you’re capturing important information or sharing memorable moments, your iPad will be your trusty companion. Get ready to unleash the full potential of your device and impress your friends with your screenshotting prowess. Let’s dive in!
Enhance Your Screenshots with GIFCaster
Now that you’re an expert at taking screenshots on your iPad 8, why not take your creativity to the next level? With GIFCaster, you can add a touch of fun and personality to your captures. Transform your standard screenshots into engaging, GIF-enhanced masterpieces that are perfect for any occasion. Whether it’s a celebratory moment or just adding flair to your daily communications, use the GIFCaster App to make every screenshot a memorable one. Start expressing yourself in a whole new way today!