FaceApp has become a popular photo editing app that allows users to transform their selfies with various filters and effects. One of the most exciting features of FaceApp is its screenshot capability, which allows you to capture and save your newly edited photos. In this step-by-step guide, we will walk you through the process of screenshotting on FaceApp. Whether you’re a beginner or a seasoned FaceApp user, this guide will help you understand the basics and troubleshoot any issues you may encounter.
Understanding the Basics of FaceApp
Before we dive into the screenshotting process, let’s take a moment to familiarize ourselves with the basics of FaceApp. FaceApp is a photo editing application that uses advanced artificial intelligence algorithms to apply various filters and effects to your photos. With FaceApp, you can transform your appearance, try out different hairstyles, change your gender, and even travel through time to see what you might look like in the future.
What is FaceApp?
FaceApp is a mobile application available for both iOS and Android devices. It was developed by a Russian company called Wireless Lab and gained immense popularity for its realistic and impressive photo editing capabilities. FaceApp uses deep learning technology to analyze and modify facial features, resulting in stunning transformations that can be shared with friends and family.
Key Features of FaceApp
Some of the key features of FaceApp include:
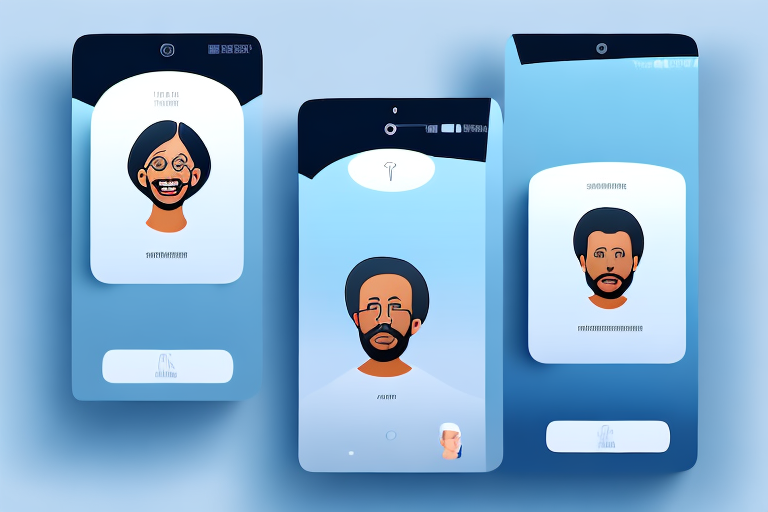
- Filter Library: FaceApp offers a wide range of filters, including the popular “Old” filter, which realistically ages your face. This filter has become a favorite among users who are curious to see how they might look in their later years. It’s a fun way to get a glimpse into the future and imagine the possibilities that lie ahead.
- Swap Gender: With FaceApp, you can instantly see what you would look like as the opposite gender. This feature has sparked countless debates and discussions about gender identity and expression. It allows users to explore different aspects of their identity and challenge societal norms and expectations.
- Hairstyle Change: Try out different hairstyles and colors without visiting a salon. FaceApp’s hairstyle change feature lets you experiment with different looks and find the perfect style that suits your face shape and personality. Whether you’ve always wanted to try a bold new color or see how you’d look with a trendy haircut, FaceApp has got you covered.
- Beard and Mustache: Add a beard or mustache to your face and see if it suits you. This feature is particularly popular among individuals who struggle to grow facial hair or are curious about how they would look with a different style of facial hair. It’s a fun way to experiment with different looks and see if a beard or mustache could enhance your overall appearance.
- Time Travel: Take a peek into the future or relive the past by applying different age filters. FaceApp’s time travel feature allows you to see how you might age over the years or how you would have looked in different eras. It’s a fascinating way to reflect on the passage of time and imagine the stories that your face could tell.
With its innovative technology and captivating features, FaceApp has revolutionized the way we interact with our photos. It has become a popular tool for self-expression, creativity, and entertainment. Whether you’re looking to have some fun with friends or explore different aspects of your identity, FaceApp offers a world of possibilities at your fingertips.
Preparing to Take a Screenshot
Before you can screenshot on FaceApp, there are a few things you need to consider.
FaceApp is a popular mobile application that allows users to transform their selfies with various filters and effects. Whether you want to see what you would look like as an older version of yourself or experiment with different hairstyles, FaceApp has become a go-to app for many smartphone users.
Checking Your Device Compatibility
FaceApp is compatible with most modern smartphones and tablets, but it’s always a good idea to check if your device meets the minimum requirements. The app utilizes advanced image processing algorithms, so having a device with sufficient processing power and memory is essential for a smooth experience.
Visit the official FaceApp website or your device’s app store to verify compatibility and ensure a seamless user experience. The website or app store will provide information on the supported operating systems, device specifications, and any additional requirements.
It’s worth noting that while FaceApp is primarily designed for mobile devices, there are also versions available for desktop computers. If you prefer to use FaceApp on your computer, make sure to check the compatibility of your operating system and hardware.
Installing and Setting Up FaceApp
If you haven’t already, download and install FaceApp from your device’s app store. The app is available for both iOS and Android devices, making it accessible to a wide range of users.
Once installed, launch the app and follow the on-screen instructions to sign in or create a new account. FaceApp offers both free and premium versions, so choose the option that best suits your needs and budget. The free version provides access to a variety of filters and effects, while the premium version offers additional features and an ad-free experience.
After signing in, take a moment to explore the app’s settings and customize them to your preferences. FaceApp allows you to adjust various parameters, such as the intensity of filters, the level of facial transformations, and the ability to save or share your edited photos directly from the app.
Additionally, FaceApp provides users with the option to connect their social media accounts, allowing for seamless sharing of edited photos with friends and followers. If you choose to link your accounts, make sure to review the privacy settings and permissions granted to FaceApp.
Now that you have installed and set up FaceApp, you are ready to start exploring its features and capturing screenshots of your favorite transformations. Whether you want to share your new look with friends or simply keep a record of your creative edits, taking a screenshot on FaceApp is a straightforward process.
Navigating Through FaceApp
Now that you have FaceApp installed and ready to go, let’s explore the user interface and learn how to navigate through the app.
Exploring the User Interface
FaceApp has a user-friendly interface that makes it easy to apply filters and effects to your photos. When you open the app, you’ll be greeted with a screen where you can either take a new photo or choose an existing one from your device’s gallery. Once you’ve selected a photo, you’ll have access to a wide range of filters and editing options. Simply swipe left or right to browse through the available filters and tap on the one you wish to apply to your photo.
Selecting the Right Filters
When selecting a filter, consider the effect you want to achieve. Do you want to look younger or older? Would you like to try out a different hairstyle or experiment with different genders? FaceApp offers a diverse selection of filters, so take your time to explore and find the one that best suits your preferences.
The Step-by-Step Process of Taking a Screenshot on FaceApp
Now that you’re familiar with the basics of FaceApp, let’s dive into the step-by-step process of taking a screenshot.
Accessing the Screenshot Feature
To access the screenshot feature on FaceApp, simply open the app and apply the desired filter to your photo. Once you’re satisfied with the result, tap on the screen to reveal the editing tools at the bottom of the screen. Look for the “Screenshot” button, which is usually represented by a camera icon.
Capturing the Screenshot
When you’re ready to capture the screenshot, tap on the “Screenshot” button. FaceApp will then save a high-quality version of the edited photo to your device’s gallery. Depending on your device and settings, you may hear a shutter sound or see a visual indication that the screenshot has been successfully captured.
Saving and Sharing Your Screenshot
Once the screenshot has been captured, it’s time to save and share it with others. FaceApp automatically saves the screenshot to your device’s gallery, so you can access it at any time. From the gallery, you can share the screenshot via social media platforms, messaging apps, or email. Simply select the desired sharing option and follow the on-screen prompts to share your masterpiece with friends and family.
Troubleshooting Common Issues
While screenshotting on FaceApp is generally a straightforward process, you may encounter some common issues along the way. Let’s take a look at how to troubleshoot them.
Screenshot Not Working
If you’re having trouble taking a screenshot on FaceApp, try the following troubleshooting steps:
- Restart the app and try again. Sometimes, a simple app restart can resolve minor glitches.
- Check your device’s storage. Ensure that you have enough free space on your device to save the screenshot.
- Update FaceApp. Make sure you’re using the latest version of the app, as updates often include bug fixes and performance improvements.
Problems with Saving or Sharing Screenshots
If you’re unable to save or share your screenshots, consider the following solutions:
- Check your device’s permissions. Ensure that FaceApp has the necessary permissions to access your device’s storage and share content.
- Verify your internet connection. If you’re trying to share the screenshot online, make sure you’re connected to a stable internet network.
- Clear the app cache. Sometimes, clearing the app cache can resolve issues related to saving and sharing screenshots. Go to your device’s settings, select FaceApp, and tap on “Clear Cache.” Keep in mind that clearing the cache may also reset some app preferences.
By following these troubleshooting steps, you should be able to overcome any issues you may encounter while screenshotting on FaceApp. Remember to check the app’s official website or contact their support team if you require further assistance.
With this step-by-step guide, you’re now equipped with the knowledge and skills to screenshot on FaceApp like a pro. Spice up your photos with stunning filters, transform your appearance, and let your creativity shine. Have fun exploring the endless possibilities of FaceApp and don’t forget to share your amazing screenshots with the world!
Take Your FaceApp Screenshots to the Next Level with GIFCaster
Ready to elevate your FaceApp screenshots? With GIFCaster, you can infuse your images with even more personality and fun by adding animated GIFs. Transform a simple edited photo into an engaging, creative expression that stands out. Whether it’s a celebratory moment or just for laughs, GIFCaster is the perfect tool to add that extra flair to your screenshots. Don’t just share your transformations; animate them! Use the GIFCaster App now and start turning your FaceApp masterpieces into lively conversations.