Taking a screenshot is a simple yet powerful tool that can be immensely useful in various situations. Whether you want to capture an important moment, share information, or troubleshoot technical issues, knowing how to take a screenshot on your Windows computer is essential. In this article, we will explore the different methods available, step-by-step instructions to make a selected screenshot, and tips for editing and sharing your screenshots. We will also address common issues that may arise and provide troubleshooting solutions.
Understanding the Basics of Screenshots
Before diving into the process of capturing a screenshot, let’s familiarize ourselves with the basics. A screenshot is an image capture of what is currently displayed on your computer screen. It allows you to preserve and share information, illustrations, or any content present on your screen. Screenshots are commonly used in presentations, tutorials, troubleshooting guides, or simply to capture memorable moments.
When you take a screenshot, you are essentially freezing a moment in time on your computer screen. It’s like capturing a photograph of your screen, allowing you to save and revisit that particular visual representation whenever you need to. Whether you want to capture an important piece of information, share a funny meme, or document a software bug, screenshots provide a convenient way to do so.
What is a Screenshot?
A screenshot, also known as a screen capture or screen grab, is an image file that reproduces the contents of a computer screen. It provides a static representation of what is being shown on your screen at the moment the capture is made.
Think of a screenshot as a snapshot of your digital world. It captures everything that is visible on your screen, including open windows, icons, text, images, and even video frames. This digital image can then be saved in various file formats, such as PNG, JPEG, or GIF, depending on your preferences and requirements.
Importance of Screenshots
Screenshots have become an integral part of our digital communication. They allow us to effectively communicate visual information, demonstrate steps or procedures, highlight specific areas of interest, or document important details. They are invaluable for technical support, troubleshooting, software reviews, documentation, and much more.
Imagine you are trying to explain a complex software feature to a colleague or a friend. Instead of relying solely on words, you can capture a screenshot of the relevant interface and annotate it with arrows, circles, or text to provide clear visual guidance. This not only enhances understanding but also saves time and eliminates any confusion that may arise from miscommunication.
In the realm of technical support, screenshots are a lifeline for both the support agents and the users seeking assistance. By sharing screenshots of error messages or unexpected behavior, users can provide support teams with valuable visual context, enabling them to diagnose and resolve issues more efficiently. Similarly, support agents can use screenshots to illustrate step-by-step instructions or highlight specific settings, making it easier for users to follow along.
Furthermore, screenshots are widely used in software reviews and documentation. They allow reviewers to showcase the user interface, features, and functionalities of a software product, giving potential users a glimpse into what they can expect. In documentation, screenshots serve as visual aids, providing users with a visual reference to complement written instructions.
Lastly, screenshots have also found their place in our personal lives. From capturing funny moments in video games to preserving memorable conversations or social media posts, screenshots have become a way to immortalize digital experiences and share them with others.
Different Methods to Take a Screenshot on Windows
Windows offers various methods to capture screenshots, each catering to different needs and preferences. Let’s explore some of the most common methods:
Using Print Screen Key
The simplest and most intuitive way to capture a screenshot on Windows is by using the Print Screen (PrtScn) key. Pressing this key captures the entire current screen and saves it to the clipboard. You can then paste the screenshot into an image editing software or any other program capable of handling images.
When using the Print Screen key, it’s important to note that it captures the entire screen, including all open windows and applications. This can be useful when you want to capture everything that is currently displayed on your screen, such as when you want to share a screenshot of your desktop setup or a specific software interface.
However, if you only want to capture a specific window or a portion of the screen, you may find other methods more suitable.
Using Snipping Tool
The Snipping Tool is a built-in screenshot utility in Windows that allows you to capture a custom-selected area, window, or full screen. This versatile tool offers various capture modes and basic annotation options. To access the Snipping Tool, simply search for it in the Windows Start menu.
With the Snipping Tool, you have more control over what you capture. You can select a specific area on the screen by dragging the cursor to create a rectangular snip, a free-form snip, a window snip, or a full-screen snip. This flexibility makes it ideal for capturing specific parts of a webpage, an error message, or any other content that you want to highlight.
After capturing the screenshot, the Snipping Tool provides basic annotation options, allowing you to draw on the image, highlight areas, or add text. You can then save the screenshot to your desired location or directly copy it to the clipboard for immediate use.
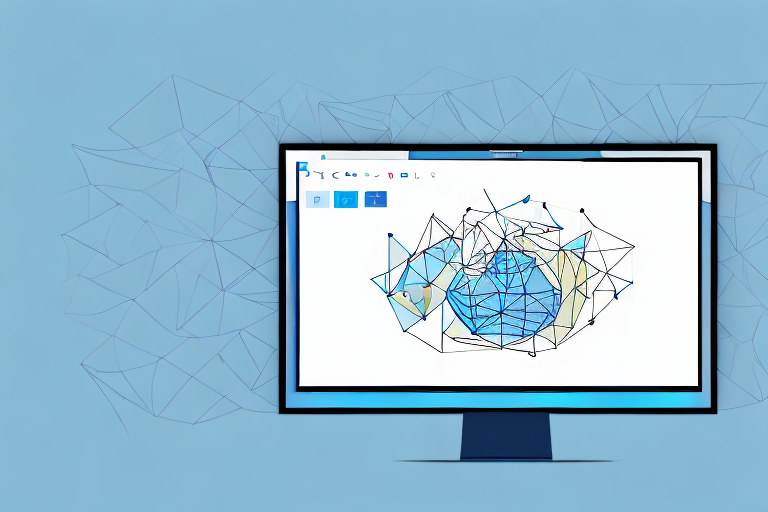
Using Snip & Sketch Tool
Windows 10 introduced the Snip & Sketch tool, providing an even more streamlined approach to capturing screenshots. This tool offers a range of capture options, including full screen, window, and custom-selected area. It also allows you to annotate and share screenshots directly from the tool.
The Snip & Sketch tool can be accessed by pressing the Windows key + Shift + S, or by searching for it in the Windows Start menu. Once activated, a small toolbar will appear at the top of the screen, giving you quick access to the capture options.
Similar to the Snipping Tool, the Snip & Sketch tool allows you to select a specific area on the screen to capture. After capturing the screenshot, you can use the built-in annotation tools to draw, crop, highlight, or add text to the image. Once you are satisfied with the edits, you can save the screenshot or share it directly through email, social media, or other compatible applications.
Overall, the Snip & Sketch tool offers a more modern and user-friendly interface, making it a popular choice among Windows users who frequently capture and share screenshots.
Steps to Make a Selected Screenshot on Windows
Now that we have explored the different methods available, let’s focus on the steps to make a selected screenshot on Windows:
Selecting the Area for Screenshot
Before capturing a selected screenshot, you need to specify the area you want to capture. This can be a portion of the screen, a specific window, or the entire screen. Once you have determined the area, proceed to the next step.
Capturing the Screenshot
With the desired area selected, use your preferred method to capture the screenshot. Whether you choose the Print Screen key, the Snipping Tool, or the Snip & Sketch tool, follow the appropriate steps to initiate the capture process.
Saving the Screenshot
After capturing the screenshot, you can save it to your desired location on your computer. Give it a meaningful name and choose the file format that suits your needs. Popular formats include JPEG, PNG, or GIF. Saving the screenshot allows you to access it later, edit it, or share it with others.
Editing and Sharing Screenshots
Once you have captured a screenshot, you may want to personalize it or highlight specific details. Windows provides basic editing tools to assist you in this process.
Basic Editing Tools for Screenshots
Windows allows you to annotate your screenshots with simple tools like highlighting, cropping, adding text, or drawing shapes. These basic editing features can be accessed through image editing software or even directly within the Snip & Sketch tool.
Sharing Screenshots via Email or Social Media
After editing, you can effortlessly share your screenshots. Windows allows you to email or upload your screenshots to various social media platforms directly from the built-in Snip & Sketch tool. Alternatively, you can manually attach the screenshot to an email or drag and drop it into messaging apps and social media platforms.
Troubleshooting Common Screenshot Issues
While taking screenshots on Windows is generally straightforward, you may encounter some issues along the way. Here are a few common problems and troubleshooting solutions to help you overcome them:
Screenshot Not Working
If your selected method is not capturing screenshots as expected, there might be a compatibility issue, or certain software running on your computer may interfere. Try using a different method to capture the screenshot or close any unnecessary applications that might be causing conflicts.
Screenshot Quality Issues
If your screenshots appear blurry or low-quality, it may be due to the resolution settings or the file format you are saving them in. Ensure that you save screenshots in a high-quality format, such as PNG or JPEG, and adjust the resolution settings if necessary.
In conclusion, knowing how to make a selected screenshot on Windows is a valuable skill that allows you to capture and share information efficiently. Whether you are a student, professional, or simply an avid computer user, screenshots can greatly enhance your communication and troubleshooting capabilities. By using the methods and following the steps outlined in this article, you can confidently capture, edit, and share screenshots on your Windows computer.
Enhance Your Screenshots with GIFCaster
Ready to take your screenshot game to the next level? With GIFCaster, not only can you capture the perfect selected area of your screen, but you can also add a touch of personality and fun by incorporating GIFs into your screenshots. Transform mundane work messages into delightful visual experiences that capture attention and convey emotions like never before. Don’t settle for static images when you can express yourself creatively. Use the GIFCaster App today and start creating engaging, animated screenshots that stand out!