Taking screenshots on your iPhone 11 is a useful way to capture and share information. Whether you want to capture a memorable moment in a game, save important information, or report a technical issue, knowing how to make a screenshot can be incredibly handy. In this article, we will guide you through the process step by step, so you can easily capture and edit screenshots on your iPhone 11.
Understanding the Basics of iPhone 11
Before we dive into the details of taking a screenshot, let’s familiarize ourselves with some key features of the iPhone 11. This will help you navigate the interface and settings more efficiently.
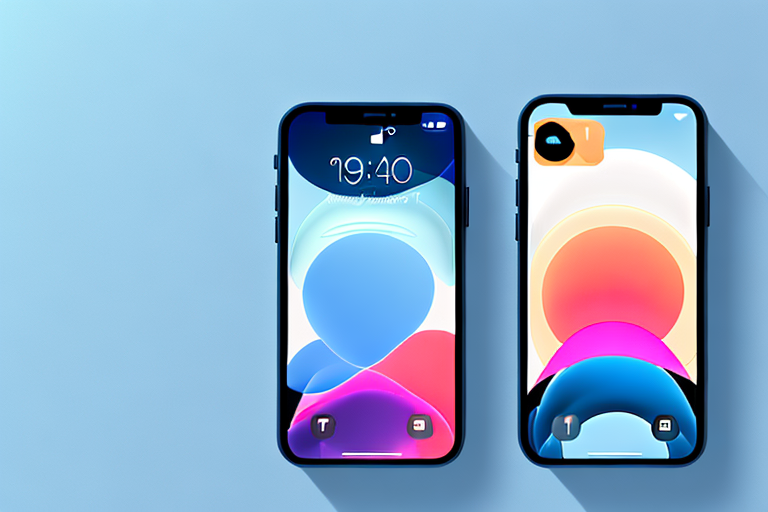
The iPhone 11 is not just another smartphone; it is a technological marvel that combines power, performance, and elegance. With its sleek design and cutting-edge features, it has become a popular choice among smartphone users worldwide.
Key Features of iPhone 11
The iPhone 11 boasts several impressive features that make it stand out from the crowd. At the heart of this device lies the powerful A13 Bionic chip, which ensures lightning-fast performance and efficient multitasking. Whether you’re browsing the web, playing games, or editing photos, the iPhone 11 can handle it all with ease.
One of the standout features of the iPhone 11 is its stunning Liquid Retina display. With its vibrant colors, sharp contrast, and true-to-life image quality, the display on this device is a visual treat. Whether you’re watching movies, scrolling through social media, or editing photos, every detail comes to life on the iPhone 11’s screen.
Additionally, the iPhone 11 comes equipped with Face ID, a revolutionary facial recognition technology. With just a glance, you can securely unlock your device and authorize purchases, making your iPhone 11 not only convenient but also secure.
The dual-camera system on the iPhone 11 is another feature that sets it apart from its competitors. With a wide and ultra-wide lens, you can capture breathtaking photos and videos with ease. Whether you’re capturing a stunning landscape or a group photo, the iPhone 11’s camera system ensures that every shot is a masterpiece.
Navigating the iPhone 11 Interface
Understanding the iPhone 11 interface is essential for efficient usage. While the iPhone 11 does not have a physical Home button like its predecessors, it introduces intuitive gestures that make navigation seamless and effortless.
To go to the Home screen, simply swipe up from the bottom of the screen. This gesture replaces the traditional Home button and takes you back to the main screen of your iPhone 11. It’s a simple and elegant way to access your apps and features.
Another useful gesture on the iPhone 11 is swiping down from the top of the screen, which opens the Control Center. The Control Center gives you quick access to essential settings and features, such as Wi-Fi, Bluetooth, and screen brightness. It’s a convenient way to manage your device’s settings without digging through menus.
When it comes to accessing your apps, you can swipe left or right across the screen. This allows you to navigate through your app library effortlessly. If you have a large number of apps, you can also use the search feature to quickly find the application you’re looking for. Simply swipe down on the home screen and start typing the name of the app you want to open.
Take some time to explore the interface and get comfortable with the various gestures and navigation options available on the iPhone 11. Once you familiarize yourself with the intuitive gestures, you’ll be able to navigate your device with ease and efficiency.
Preparing to Take a Screenshot
Before you capture a screenshot, it’s important to check your settings and ensure optimal display for the screenshot.
When taking a screenshot on your iPhone 11, there are a few things you should keep in mind to ensure that the captured image is of the highest quality. Let’s dive into the details!
Checking Your Settings
Go to the Settings app on your iPhone 11 and navigate to the “Display & Brightness” section. This is where you can make adjustments to your screen brightness, which plays a crucial role in capturing a clear and vibrant screenshot.
It’s important to find the right balance when it comes to screen brightness. If it’s too low, your screenshot may appear dull and difficult to see. On the other hand, if it’s too high, you may encounter unwanted glare or distortions in your screenshot.
Take a moment to ensure that your screen brightness is at an appropriate level, allowing the content you want to capture to shine without any visual hindrances.
In addition to adjusting the screen brightness, you should also consider enabling the “Silent Mode” or turning off system sounds. This will prevent any interruptions or unwanted noises from appearing in your screenshot. Imagine capturing a screenshot of an important document or a funny conversation, only to have it ruined by an unexpected notification sound!
By taking these simple steps to check your settings, you’ll be well-prepared to capture a screenshot without any distractions or visual imperfections.
Ensuring Optimal Screen Display
When taking a screenshot, it’s crucial to have the screen displaying the desired content. Whether you’re capturing a conversation, a social media post, an image, or a video, you want to make sure that the relevant content is visible on the screen before proceeding.
For example, if you’re capturing a conversation, ensure that the entire conversation thread is visible on the screen. This will ensure that the screenshot captures the full context and avoids any confusion when you revisit it later.
Similarly, if you’re capturing an image or video from a website or app, it’s important to make sure that the content is fully loaded and displayed properly on your screen. This will ensure that the screenshot accurately represents the intended visual content.
By taking a moment to ensure optimal screen display, you can avoid capturing incomplete or distorted content, resulting in screenshots that truly reflect what you want to capture.
Now that you know how to prepare for taking a screenshot, you’re ready to capture those memorable moments, important information, or anything else you want to preserve in a visual form. Happy screenshotting!
Steps to Take a Screenshot on iPhone 11
Now that you’ve prepared your iPhone 11, let’s dive into the step-by-step process of taking a screenshot.
Using the Side Button and Volume Up
The simplest and most commonly used method to capture a screenshot on your iPhone 11 is by using the Side button and Volume Up button simultaneously.
- First, locate the Side button on the right side of your iPhone 11.
- Next, locate the Volume Up button on the left side of your iPhone 11.
- With the content you wish to capture on the screen, press the Side button and the Volume Up button at the same time.
- You’ll see a flash on the screen, accompanied by a camera shutter sound, indicating that the screenshot has been successfully captured.
Using AssistiveTouch
If using physical buttons is inconvenient or difficult for you, you can also take a screenshot using AssistiveTouch.
- Begin by opening the Settings app on your iPhone 11 and navigating to “Accessibility.”
- Select “Touch” and then choose “AssistiveTouch.”
- Toggle on the “AssistiveTouch” switch to enable it.
- A small gray circle will appear on your screen, which you can move to a convenient location by dragging it with your finger.
- Tap the AssistiveTouch icon, and a menu will appear.
- Tap “Device” and then select “More.”
- Scroll down until you find the “Screenshot” option and tap it.
- Instantly, a screenshot will be captured, and you’ll receive a notification.
Editing Your Screenshot
After capturing a screenshot, you may want to edit or annotate it before sharing or saving it. The iPhone 11 offers built-in tools to help you make simple adjustments and add annotations to your screenshots.
Accessing the Screenshot Editor
Once you’ve taken a screenshot, a thumbnail preview will appear in the bottom-left corner of your screen. Tap on the thumbnail to open the Markup editor.
The Screenshot editor allows you to crop, rotate, add text, draw, and highlight specific areas of your screenshot. You can also undo and redo any changes you make.
Tools for Editing Your Screenshot
The Screenshot editor offers a variety of tools to enhance and personalize your screenshots.
- The Crop tool allows you to remove unwanted portions of the screenshot.
- The Rotate tool enables you to rotate the screenshot to a desired orientation.
- The Text tool allows you to add captions, labels, or descriptions to your screenshot.
- The Drawing tool lets you draw freehand lines, shapes, or highlights on your screenshot.
Take your time to explore the different editing tools and discover how they can enhance your screenshots.
Sharing and Saving Your Screenshot
Once you’ve captured and edited your screenshot, you can easily share it or save it for later use.
How to Share Your Screenshot
To share your screenshot, tap the Share button located in the top-right corner of the editor. This will open the sharing options, allowing you to select the app or method you prefer.
You can share your screenshot via messages, email, social media, AirDrop, or other apps you have installed on your iPhone 11.
Saving Your Screenshot in Photos
If you want to save your screenshot for future reference, tap the Done button in the top-left corner of the editor. This will return you to the thumbnail preview.
Next, tap the Save to Photos button, located in the bottom-right corner of the screen. Your screenshot will then be saved in the Photos app, where you can easily access it anytime you need it.
Now that you know how to make a screenshot on your iPhone 11, you can capture and share important moments, information, or anything else you find noteworthy. Use this useful feature to enhance your iPhone experience and make the most out of your device.
Enhance Your Screenshots with GIFCaster
Ready to take your iPhone 11 screenshots to the next level? With GIFCaster, you can add a touch of personality and fun to your captures. Turn a simple screen grab into an engaging, animated conversation starter by overlaying your favorite GIFs. Whether it’s a celebratory moment or just adding a spark to your daily communications, use the GIFCaster App to express yourself creatively and make every screenshot memorable. Start crafting your own GIF-powered screenshots today and share the joy!