In today’s digital age, screenshots have become an essential tool for capturing and sharing information. Whether you want to save a funny meme, document an important message, or showcase your high score in a game, knowing how to take a screenshot on your iPad is a valuable skill. In this article, we will guide you through the process, from understanding the basics to editing and sharing your screenshots.
Understanding the Basics of iPad Screenshots
Before diving into the various methods of capturing screenshots on your iPad, it’s crucial to understand what a screenshot is and why it’s important. A screenshot is essentially a digital image that captures the exact contents displayed on your iPad’s screen at a specific moment in time. This includes everything from apps, websites, and videos to notifications and even the status bar at the top of the screen.
What is a Screenshot?
A screenshot is a visual representation of what appears on your iPad’s display, frozen in time. It allows you to capture and preserve information that might otherwise be fleeting, such as an error message, a recipe, or a conversation. By taking a screenshot, you create a permanent record that can be accessed and shared whenever needed.
Importance of Taking Screenshots
Screenshots serve a variety of purposes and can be incredibly useful in many situations. Whether you’re troubleshooting a technical issue and need to show it to customer support, providing visual feedback on an app or website, or simply sharing a funny moment with friends, screenshots offer a convenient and efficient way to capture and convey information.
One of the key benefits of taking screenshots is the ability to document and share visual information. For example, let’s say you encounter a bug while using a mobile app. Instead of trying to describe the issue in words, you can simply capture a screenshot of the error message or the unexpected behavior and share it with the app’s support team. This visual representation allows them to better understand the problem and provide a more accurate solution.
In addition to troubleshooting, screenshots can also be helpful for educational purposes. If you’re following a step-by-step tutorial or guide on your iPad, taking screenshots at each stage can help you remember the process later on. You can create a visual reference that you can easily refer back to whenever you need a reminder.
Screenshots can also be used for creative purposes. Many artists and designers use screenshots as a starting point for their digital artwork. By capturing an interesting image or composition on their iPad, they can then import it into a drawing or design app to further enhance and manipulate the visuals.
Furthermore, screenshots can be a valuable tool for social media sharing. Whether you want to showcase a stunning in-game moment, share a funny conversation, or highlight a beautiful design, screenshots allow you to capture and share these moments with your friends and followers. They provide a glimpse into your digital experiences and can spark conversations and interactions.
Overall, understanding how to take and utilize screenshots on your iPad opens up a world of possibilities. From practical uses like troubleshooting and educational purposes to creative endeavors and social media sharing, screenshots offer a versatile and valuable tool for capturing and preserving moments on your device.
Preparing Your iPad for Screenshots
Before you start snapping screenshots on your iPad, there are a few important steps you should take to ensure everything goes smoothly.
Checking Your iPad’s Settings
Firstly, make sure that your iPad’s settings are configured correctly for capturing screenshots. Open the Settings app and navigate to the “General” section. Look for the “Keyboard” option and ensure that the “Full Keyboard Access” feature is turned on. This allows you to take screenshots using the keyboard shortcut, making the process even more convenient.
Additionally, while in the Settings app, you may want to explore other settings that can enhance your screenshot experience. For example, under the “Display & Brightness” section, you can adjust the brightness level to ensure your screenshots are clear and vibrant. You can also customize the “Auto-Lock” feature to prevent your iPad from locking while you are in the middle of capturing screenshots.
Ensuring Sufficient Storage Space
It’s also essential to ensure that your iPad has enough available storage space to store your screenshots. To check your available storage, go to the Settings app and select the “General” section. From there, tap on “iPad Storage” to view detailed information about your device’s storage usage.
While reviewing your storage usage, you might come across other apps or files that are taking up significant space on your iPad. Take this opportunity to declutter your device by deleting unnecessary files or transferring them to an external storage device. This will not only free up room for your screenshots but also improve the overall performance of your iPad.
Furthermore, if you frequently take screenshots and find yourself running out of storage space frequently, you might want to consider investing in cloud storage solutions. Cloud storage allows you to store your screenshots and other files securely on remote servers, freeing up space on your iPad without the risk of losing your valuable data.
By taking the time to optimize your iPad’s settings and ensure sufficient storage space, you can make the process of capturing screenshots on your iPad a seamless and enjoyable experience. So, get ready to capture and share those memorable moments with ease!
Different Methods to Take a Screenshot on iPad
Now that your iPad is ready, let’s explore the different methods you can use to capture screenshots on your device.
Using the Button Combination Method
The most common and straightforward way to take a screenshot on an iPad is by using a combination of buttons. Simply press and hold the Sleep/Wake button (located on the top edge of your device) and the Home button (the circular button at the bottom) simultaneously. Release both buttons, and you’ll see a quick flash on your screen, indicating that the screenshot has been successfully captured.
Utilizing AssistiveTouch for Screenshots
If you find it challenging to press both buttons simultaneously or have difficulty accessing them, AssistiveTouch offers an alternative method for taking screenshots. AssistiveTouch is a built-in accessibility feature that provides a virtual button overlay on your screen, allowing you to perform various actions with a single tap.
To enable AssistiveTouch, go to the Settings app and select “Accessibility.” From there, tap on “Touch” and then “AssistiveTouch.” Toggle the switch to turn it on. Once AssistiveTouch is activated, you’ll see a small floating button on your screen. Tap the button, select “Device,” and then “Screen Shot” to capture a screenshot.
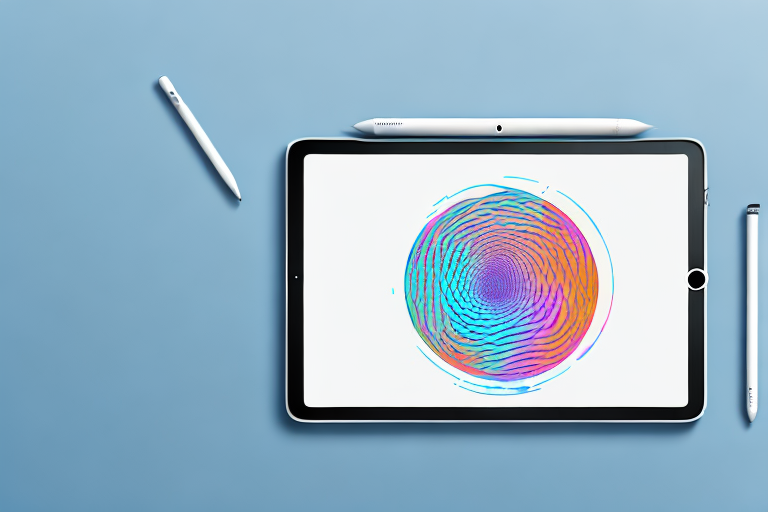
Taking Screenshots with Apple Pencil
If you own an Apple Pencil and prefer a more precise method of capturing screenshots, you’re in luck! Apple Pencil users can take screenshots by simply swiping up from the bottom corner of the screen while holding the Apple Pencil. This gesture triggers the screenshot capture, saving you the hassle of pressing buttons.
Editing and Annotating Your Screenshots
Now that you’ve mastered the art of taking screenshots on your iPad, let’s explore how to edit and annotate them to make them more informative or entertaining.
Accessing Your Screenshots
After capturing a screenshot, it’s essential to know where to find and access it. By default, all screenshots are saved to the “Photos” app on your iPad. Simply open the Photos app and navigate to the “Albums” tab. Look for the “Screenshots” album, where you’ll find all your captured screenshots neatly organized.
Using Markup Tools for Annotation
The Photos app offers built-in markup tools that allow you to edit and annotate your screenshots directly on your iPad. Open a screenshot in the Photos app, tap on the “Edit” button, and then select the three-dot icon at the top right corner. From there, choose “Markup” to access a range of annotation options, including text, drawing, highlighting, and more. Enhance your screenshots with arrows, circles, and text to highlight specific areas or provide additional context.
Cropping and Resizing Your Screenshots
If you want to focus on a specific part of a screenshot or remove irrelevant content, the Photos app enables you to crop and resize images. In the markup editing mode, tap on the crop icon at the bottom. Adjust the borders to select the desired portion of the screenshot, and tap “Done” to apply the changes. Additionally, you can resize the screenshot by pinching and zooming with two fingers.
Sharing and Saving Your Screenshots
Now that you’ve captured and edited your screenshots, it’s time to share them with others or save them for future reference.
Sending Screenshots via Email or Messaging Apps
If you want to share your screenshots with friends, colleagues, or customer support, you can easily send them via email or messaging apps. Open the Photos app, select the screenshot you want to share, and tap on the share icon (a square with an arrow pointing upward). Choose the desired app, enter the recipient’s details, and send your screenshot with a personalized message.
Saving Screenshots to Files or Photos
If you prefer to keep your screenshots organized within specific folders or albums, you can save them to the Files or Photos app. When viewing a screenshot in the Photos app, tap on the share icon and select “Save to Files” or “Save to Photos” to store your screenshot in the desired location. This allows for easy access and retrieval, especially if you have a large collection of screenshots.
Deleting Unwanted Screenshots
To keep your iPad’s storage tidy and efficient, it’s crucial to delete any unwanted or unnecessary screenshots. Open the Photos app, navigate to the “Screenshots” album, and select the screenshots you want to delete. Tap the trash can icon, confirm the action, and watch as those screenshots are removed from your device, freeing up valuable storage space.
With these methods and tips at your disposal, you can confidently capture, edit, and share screenshots on your iPad like a pro. Whether you’re a student, professional, or casual user, knowing how to make a screenshot on your iPad is a valuable skill that will enhance your productivity and communication.
So, the next time you come across something worth saving or sharing, don’t hesitate to capture the moment with a screenshot. Happy screenshotting!
Enhance Your Screenshots with GIFCaster
Ready to take your iPad screenshots to the next level? With GIFCaster, not only can you capture those important moments, but you can also add a touch of fun and creativity by incorporating GIFs into your images. Make your work messages stand out or share a laugh with friends by using the GIFCaster App. It’s time to turn your standard screenshots into engaging, animated conversations. Get started with GIFCaster today and add a new dimension to your digital expression!