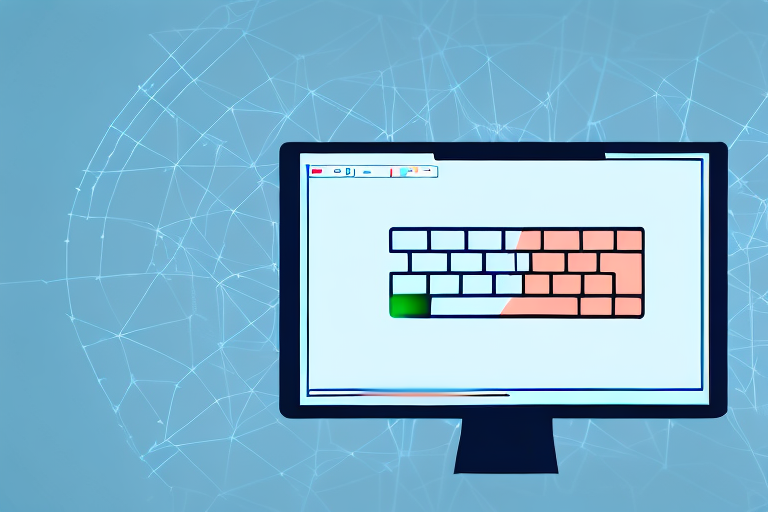
Screenshots are a valuable tool for capturing and sharing information on your Windows computer. Whether you need to show an error message to tech support, highlight a specific portion of a document, or save an image for future reference, knowing how to take and manipulate screenshots can greatly enhance your digital communication skills.
Understanding the Importance of Screenshots
In the digital age, visual information carries immense value. Screenshots play a crucial role in conveying complex concepts and ideas. They serve as visual aids that enhance communication by providing context, clarity, and precision to your messages. With a single screenshot, you can simplify explanations, eliminate confusion, and visually demonstrate your point to others.
When it comes to digital communication, screenshots are invaluable tools. They allow you to capture and share visual representations of information, making it easier for others to understand and follow along. Whether you are collaborating on a project, troubleshooting technical issues, or providing instructions, screenshots offer an efficient and effective means of conveying information.
The Role of Screenshots in Digital Communication
Imagine you are working on a team project, and you need to explain a complex workflow to your colleagues. Instead of relying solely on written descriptions, you can take a screenshot of the relevant software interface or document and annotate it with arrows, text, or highlights to emphasize key points. This visual representation provides a clear and concise explanation, ensuring that everyone involved is on the same page.
Similarly, when troubleshooting technical issues, screenshots can be invaluable in conveying error messages or displaying specific settings. By capturing and sharing screenshots, you can ensure that technical support or colleagues can easily identify the problem and provide targeted solutions.
Furthermore, when providing instructions, screenshots can simplify the process by visually guiding users through each step. This eliminates confusion and reduces the chances of errors, leading to smoother and more productive communication.
Benefits of Using Screenshots in Windows
Windows, one of the most popular operating systems, provides users with a range of screenshot options, each with its own unique advantages. By utilizing these features, you can save time, improve clarity, and enhance your overall productivity.
One method to take screenshots in Windows is by using the “Print Screen” key on your keyboard. Pressing this key captures the entire screen and copies it to the clipboard. You can then paste the screenshot into an image editing software or directly into a document or email. This method is quick and straightforward, allowing you to capture and share information in a matter of seconds.
Another option is to use the “Snipping Tool,” a built-in screenshot utility in Windows. With the Snipping Tool, you can capture specific areas of your screen by selecting the desired region. This feature is particularly useful when you only need to capture a portion of the screen, such as a specific error message or a particular section of a webpage.
For Windows 10 users, there is an additional screenshot tool called “Snip & Sketch.” This tool provides even more flexibility by allowing you to capture screenshots and make annotations directly on the captured image. You can draw, highlight, or add text to your screenshots, making it easier to emphasize important details or provide additional context.
By leveraging these screenshot options in Windows, you can effectively communicate your ideas, instructions, and troubleshooting steps with precision and clarity. Screenshots enable you to capture and share visual information, making it easier for others to understand and follow along.
Different Methods to Take Screenshots on Windows
When it comes to capturing screenshots on Windows, there are several methods you can use to achieve the desired result. Each method offers its own unique features and benefits, providing you with flexibility and convenience. In this article, we will explore three popular methods: using the Print Screen key, utilizing the Snipping Tool, and taking advantage of the Snip & Sketch tool.
Using the Print Screen Key
One of the most straightforward ways to capture a screenshot on Windows is by using the Print Screen key. Located on the top row of your keyboard, commonly labelled as “PrtSc” or “Print Screen,” this key allows you to capture an image of your entire screen.
But did you know that the Print Screen key has been a part of Windows since the early days? It has been a reliable tool for capturing screenshots, whether you want to capture an error message, save a memorable moment from a video, or document an important piece of information.
To take a screenshot using the Print Screen key, simply press it once. The screenshot will be saved to your clipboard, ready to be pasted into an image editing program or a document. From there, you can crop, resize, or enhance the screenshot to suit your needs.
Utilizing the Snipping Tool
If you need more flexibility in capturing screenshots, Windows offers the Snipping Tool. This feature allows you to select and capture specific areas of your screen.
The Snipping Tool has been a favorite among Windows users who require precise control over their screenshots. Whether you want to capture a specific section of a webpage, highlight a particular paragraph in a document, or capture a specific error message, the Snipping Tool can do it all.
To access the Snipping Tool, press the “Windows” key, type “Snipping Tool,” and open the application. Once launched, you can choose from different snipping modes, such as Free-form, Rectangular, Window, or Full-screen. After selecting the desired mode, simply drag your cursor over the area you want to capture, and the Snipping Tool will save the screenshot for you.
With the Snipping Tool, you can also annotate your screenshots by using the pen, highlighter, or eraser tools. This allows you to emphasize important details or add explanatory notes to your screenshots, making them more informative and visually appealing.
Taking Advantage of the Snip & Sketch Tool
In newer versions of Windows, the Snipping Tool has been replaced by the Snip & Sketch tool, which offers enhanced features for capturing and annotating screenshots.
The Snip & Sketch tool takes screenshot capturing to a whole new level. With its intuitive interface and advanced functionalities, it has become a go-to tool for many Windows users who require more than just basic screenshot capabilities.
To use the Snip & Sketch tool, press the “Windows” key and the “Shift” key, then type “Snip & Sketch” and open the application. Once opened, you can choose to capture a screenshot immediately or initiate a delay to set up your screen before capturing the image. This feature comes in handy when you need to capture a specific moment in a video or a dynamic element on a webpage.
Additionally, the Snip & Sketch tool provides options for annotating and editing your screenshots, allowing you to highlight important details or add explanatory text. With its built-in pen, pencil, and marker tools, you can easily draw attention to specific areas or add annotations to clarify complex concepts.
Furthermore, the Snip & Sketch tool allows you to share your screenshots directly from the application. You can send them via email, save them to your preferred cloud storage service, or even share them on social media platforms with just a few clicks.
As you can see, Windows offers a variety of methods to capture screenshots, each catering to different needs and preferences. Whether you prefer the simplicity of the Print Screen key, the precision of the Snipping Tool, or the advanced features of the Snip & Sketch tool, you can easily find a method that suits your requirements. So, the next time you need to capture a screenshot on Windows, give these methods a try and discover the one that works best for you!
How to Edit and Annotate Screenshots on Windows
Basic Editing Techniques for Screenshots
After capturing a screenshot, Windows offers various editing techniques to enhance and modify your image. These tools allow you to crop, resize, rotate, adjust colors, and apply other visual modifications to your screenshots.
To access these editing options, paste your screenshot into an image editing program such as Paint, Paint 3D, or a third-party software. Once opened, you can explore the different editing tools, enabling you to refine your screenshots according to your specific needs.
Annotating Screenshots for Clarity
In addition to basic editing, you can further enhance the clarity and understanding of your screenshots by adding annotations. Windows provides tools to draw shapes, insert text boxes, highlight sections, and blur sensitive information.
By utilizing these annotation features, you can draw attention to important details, explain complex concepts, or emphasize specific information within your screenshots. This not only improves comprehension but also enables you to convey precise information in a visually engaging manner.
Saving and Sharing Screenshots on Windows
Best Practices for Saving Screenshots
When saving screenshots on Windows, it is important to follow best practices to ensure easy access and organization. It is recommended to create a dedicated folder specifically for storing your screenshots. This will help you locate and manage your saved images efficiently.
Additionally, consider using descriptive file names that clearly indicate the content or purpose of each screenshot. This will help you quickly identify and retrieve the necessary screenshot when needed.
Efficient Ways to Share Screenshots
Sharing screenshots with others is an integral part of digital communication. Windows offers multiple options for quickly and efficiently sharing your screenshots with colleagues, friends, or clients.
You can easily share screenshots by attaching them to emails, uploading them to cloud storage services, or utilizing various instant messaging or collaboration platforms. By sharing screenshots in a timely and accessible manner, you can foster effective communication and facilitate efficient collaboration.
Troubleshooting Common Issues with Screenshots on Windows
Addressing Common Screenshot Problems
While taking and using screenshots on Windows is generally straightforward, you may encounter some challenges along the way. Common issues include capturing the wrong screen, capturing only a portion of the screen, or screenshots appearing distorted or blurry.
If you encounter any of these problems, there are several troubleshooting steps you can take. These include double-checking your screenshot settings, updating your graphics drivers, or adjusting your screen resolution. Following these steps can often resolve common screenshot issues and ensure that you capture the desired image accurately.
Tips for Avoiding Screenshot Issues in the Future
To minimize potential screenshot issues, it is helpful to be aware of best practices and incorporate them into your routine. Some tips to avoid common issues include reviewing your screenshot before sharing it, checking for any unexpected overlays or notifications, and considering alternative methods if you’re consistently encountering problems with a particular screenshot tool.
By adopting these proactive measures, you can ensure a smoother screenshot-taking experience and reduce the chances of encountering frustrating issues that may hamper your digital communication efforts.
In conclusion, knowing how to make accurate and visually engaging screenshots on Windows is a valuable skill that can significantly improve your digital communication. By understanding the importance of screenshots, exploring the different methods available, mastering the techniques for editing and annotating, and utilizing efficient ways to save and share your screenshots, you can effectively convey information and collaborate with others. Remember to troubleshoot any common issues you may encounter and implement preventive measures to optimize your screenshot-taking experience. With these skills and practices, you’ll be well-equipped to make impressive and impactful screenshots on your Windows computer.
Enhance Your Screenshots with GIFCaster
Ready to take your screenshot game to the next level? With GIFCaster, not only can you capture your screen, but you can also add a touch of personality and fun by incorporating GIFs. Make your digital communication stand out and turn a simple screenshot into a memorable, engaging message. Why settle for the ordinary when you can express yourself creatively? Use the GIFCaster App today and start creating screenshots that truly capture your unique style and humor.