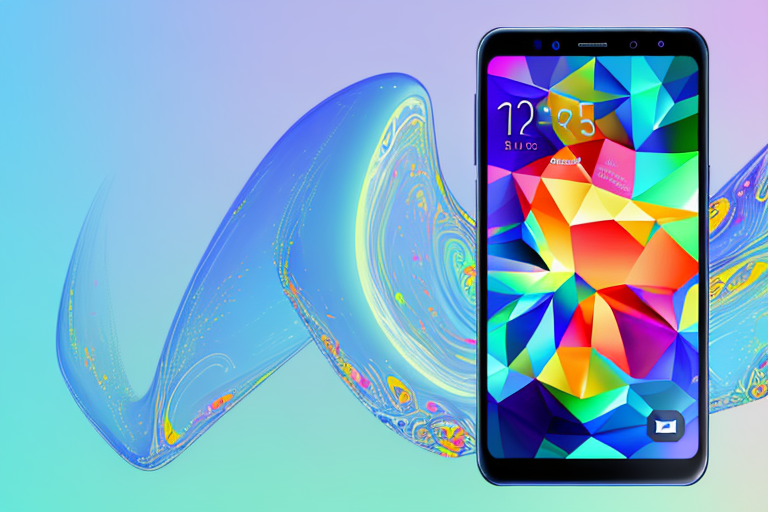
The Samsung A51 is a popular Android smartphone that offers a range of features and functionalities. One of the most commonly used features is capturing screenshots. Whether you want to save a funny meme, share an important conversation, or simply keep a record of something on your screen, taking a screenshot is a handy tool. If you’re wondering how to make a screenshot on Samsung A51, this article will guide you through the process.
Understanding the Basics of Samsung A51
Before we delve into the details of capturing screenshots, let’s briefly explore the key features of the Samsung A51. This will help you become more familiar with the device and its interface.
Key Features of Samsung A51
The Samsung A51 boasts a stunning Super AMOLED display, offering vibrant colors and sharp visuals. Its large 6.5-inch screen provides an immersive experience for users. Whether you’re watching videos, playing games, or browsing the web, the Samsung A51’s display will bring your content to life.
Additionally, the device is equipped with a powerful Exynos 9611 processor, ensuring smooth performance for various tasks. From multitasking to running demanding applications, the Samsung A51 can handle it all with ease. You can switch between apps seamlessly and enjoy a lag-free experience.
In terms of storage, the Samsung A51 offers ample space with options for expandability. With up to 128GB of internal storage and the ability to add a microSD card, you can store a multitude of apps, photos, and files without worrying about running out of space. Whether you’re a heavy media consumer or someone who likes to keep their device clutter-free, the Samsung A51 has you covered.
Furthermore, the device features a quad-camera setup, including a 48-megapixel primary camera, an ultra-wide lens, a macro lens, and a depth sensor. This combination enables users to capture stunning photos and videos in different scenarios. Whether you’re capturing breathtaking landscapes or close-up shots, the Samsung A51’s camera system will help you unleash your creativity.
Navigating the Samsung A51 Interface
Before we proceed to the screenshot capturing process, let’s familiarize ourselves with the Samsung A51 interface. The device operates on Samsung’s One UI, which is based on the latest Android operating system. One UI offers user-friendly navigation and a host of customization options.
To access apps and settings, simply swipe up or down on the home screen. This action will reveal the app drawer, allowing you to browse and open various applications. You can organize your apps into folders, rearrange them, or even uninstall them with a few simple gestures. One UI puts the power of customization in your hands.
Additionally, you can customize the home screen layout by long-pressing on an empty area and selecting “Home screen settings.” From here, you can change the wallpaper, add widgets, and adjust the grid size to suit your preferences. One UI allows you to make your Samsung A51 truly yours.
Now that we have a better understanding of the Samsung A51’s features and interface, let’s move on to the process of preparing to capture a screenshot. But before we do that, let’s take a moment to appreciate the sleek design of the Samsung A51.
The device features a slim and elegant design, with smooth curves and a glass back that gives it a premium look and feel. It’s comfortable to hold and fits perfectly in your hand. The Samsung A51 comes in a range of attractive colors, allowing you to choose the one that suits your style.
Whether you’re a tech enthusiast, a photography lover, or someone who simply appreciates a well-designed device, the Samsung A51 has something to offer. Its powerful features, user-friendly interface, and stunning design make it a standout choice in the smartphone market.
Preparing to Take a Screenshot
Before you take a screenshot on your Samsung A51, there are a few things you should check to ensure a smooth experience.
Checking Screen Settings
Firstly, make sure that your screen is set to the optimal brightness level. This will ensure that the captured screenshot accurately represents what you see on your display. To adjust the brightness, swipe down from the top of the screen to reveal the notification shade and locate the brightness slider.
Additionally, it’s important to check your screen timeout settings. The screen timeout determines how long your screen stays active before it automatically turns off. To adjust this setting, go to “Settings” > “Display” > “Screen timeout” and select your desired duration.
Ensuring Sufficient Storage Space
Another crucial aspect to consider is the available storage space on your Samsung A51. Screenshots can take up a significant amount of storage, especially if you capture them frequently. Therefore, it’s recommended to regularly check your device’s storage and free up space if necessary. You can do this by going to “Settings” > “Device care” > “Storage” and reviewing the available storage capacity.
If your storage is running low, consider deleting unnecessary files or transferring them to an external storage device or cloud storage service.
Different Methods to Capture a Screenshot
Now that you’ve prepared your Samsung A51 for screenshot capturing, let’s explore the different methods available.
Using Button Combinations
This method is the most commonly used and is simple to execute. To capture a screenshot using button combinations, follow these steps:
- Open the screen or app that you want to capture.
- Press and hold the Volume Down button and the Power button simultaneously.
- After a brief moment, you’ll see a flash on your screen, indicating that the screenshot has been taken.
- You can locate the captured screenshot in the “Gallery” app or in the “Screenshots” folder in your file manager.
Utilizing Palm Swipe Feature
If you find button combinations cumbersome or prefer a more gesture-based approach, the Samsung A51 offers the palm swipe method. To enable and use this feature, follow these steps:
- Open the “Settings” app on your device.
- Scroll down and select “Advanced features.”
- Toggle on the “Palm swipe to capture” option.
- To capture a screenshot, simply swipe the edge of your hand horizontally across the screen from left to right or vice versa.
- Your screen will momentarily flash, indicating that the screenshot has been successfully taken.
Using the Assistive Menu
Another convenient method to capture screenshots on the Samsung A51 is through the Assistive Menu. This feature provides quick access to various functions, including the screenshot option. To enable and utilize Assistive Menu, follow these steps:
- Go to “Settings” on your device.
- Select “Accessibility” and choose “Interaction and dexterity.”
- Tap on “Assistive Menu” and toggle it on.
- An Assistive Menu icon will appear on your screen.
- To capture a screenshot, tap the Assistive Menu icon and select the “Screenshot” option.
- Your screenshot will be saved in the usual locations.
Editing and Sharing Your Screenshot
Once you’ve successfully captured a screenshot on your Samsung A51, you may want to make some edits or share it with others. Here’s how you can do that:
Basic Editing Tools for Screenshots
The Samsung A51 provides several built-in editing tools that allow you to modify your screenshots. When you capture a screenshot, you’ll notice a preview of it at the bottom of the screen. Tap on the preview to open the editing options.
With these tools, you can crop the screenshot, add text, draw annotations, or even use filters to enhance the visuals. Experiment with these editing features to personalize your screenshots and make them more engaging.
Sharing Screenshots via Different Platforms
Sharing your screenshots is effortless on the Samsung A51. Once you’ve made any necessary edits, you can share your screenshot through various platforms, such as social media, messaging apps, or email. Simply tap on the share button, select the desired platform, and follow the prompts to send the screenshot to your intended recipients.
Troubleshooting Common Screenshot Issues
While capturing screenshots on your Samsung A51 is usually a smooth process, you may encounter some issues along the way. Here are a couple of common problems you might face and their solutions:
Resolving Screenshot Not Working Issue
If you find that your screenshot functionality is not working, there are a few troubleshooting steps you can take to resolve the issue. Firstly, ensure that your device is updated with the latest firmware and software. Outdated software can sometimes cause conflicts with certain features.
Additionally, restart your device to clear any temporary glitches. If the problem persists, try disabling any third-party apps that may be interfering with the screenshot functionality.
Fixing Blurry Screenshots
Blurry screenshots can be disappointing, especially when you capture something important. To avoid blurry screenshots, make sure to hold the device steady when capturing the screenshot. Shaking or moving the device while capturing can result in blurry images.
If you’re still experiencing blurry screenshots, try cleaning the camera lens with a microfiber cloth. Dust or smudges on the lens can affect the clarity of the captured images.
With these troubleshooting tips, you’ll be able to overcome common screenshot issues and continue capturing clear and crisp screenshots on your Samsung A51.
Now that you have a comprehensive understanding of how to make a screenshot on Samsung A51, you can confidently capture and share important moments, information, or anything that catches your attention on your device’s screen. Enjoy the convenience of this feature and make the most out of your Samsung A51!
Enhance Your Screenshots with GIFCaster
Ready to take your Samsung A51 screenshots to the next level? With GIFCaster, you can add a touch of personality and fun to your captures. Turn a simple screenshot into a lively conversation piece by incorporating GIFs that express your creativity and mood. Whether it’s celebrating a work win or just sharing a laugh, GIFCaster makes your screenshots more engaging. Don’t just capture your screen, animate it with GIFCaster and share the joy!