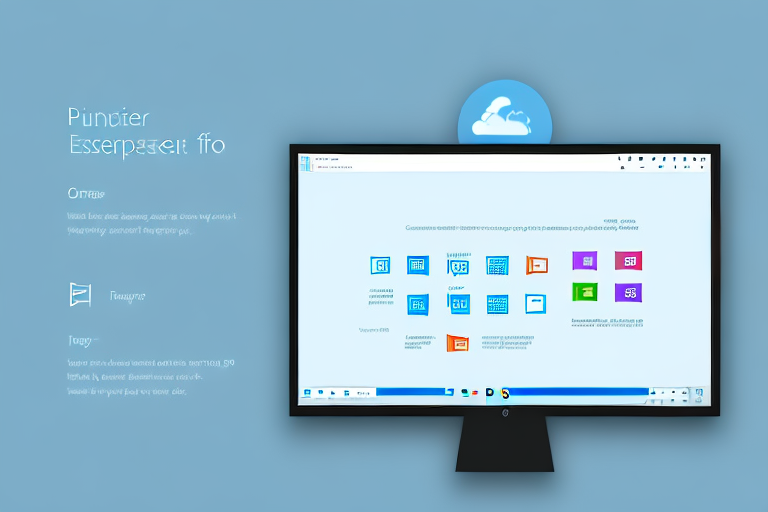
In today’s digital age, being able to capture and share what’s on your computer screen is essential. Whether you’re trying to troubleshoot an issue, explain a concept to a colleague, or simply share something interesting you found online, knowing how to take a screenshot in Windows 10 can come in handy. In this article, we’ll explore the basics of screenshots, different methods to capture your screen, editing and saving options, troubleshooting common issues, and some tips and tricks for more effective screenshots.
Understanding the Basics of Screenshots
A screenshot is essentially a digital image that captures exactly what is currently visible on your computer screen. It’s a way to preserve and share information without having to manually retype or describe it. Screenshots can be particularly useful in situations where you need to provide visual evidence or instructions. So, whether it’s for work, school, or personal use, learning how to take screenshots in Windows 10 is a valuable skill.
When you take a screenshot, you are freezing a moment in time on your computer screen. It’s like taking a photograph of your digital workspace. This frozen image can then be saved, shared, or edited as needed. It’s a convenient way to capture and communicate information visually.
What is a Screenshot?
In simple terms, a screenshot is a snapshot of your computer screen. It captures everything that’s visible, including open windows, desktop icons, documents, websites, and even videos or games in real-time.
Imagine you are working on a project and you want to show your colleagues a specific error message that keeps popping up on your screen. Instead of trying to explain it in words or writing a lengthy email, you can simply take a screenshot and share it with them. This way, they can see exactly what you are seeing and understand the issue more clearly.
Importance of Screenshots
Screenshots have many practical uses, both in professional and personal settings. They can be used to create visual documentation, share information, provide step-by-step instructions, troubleshoot technical issues, showcase designs, and much more. Being able to take and edit screenshots efficiently can save you time and effort.
For example, let’s say you are a graphic designer working on a new website layout. You want to get feedback from your client, but sending them a link to the live website might not be practical at this stage. Instead, you can take a screenshot of the design and send it to them. This allows them to see the layout, colors, and overall aesthetic without having to access the actual website.
In addition, screenshots can be a valuable tool for troubleshooting technical issues. If you encounter an error message or a software glitch, taking a screenshot can help you document the problem. You can then share the screenshot with technical support or post it on a forum to seek assistance. This visual representation of the issue can often lead to quicker and more accurate solutions.
Furthermore, screenshots can be used to provide step-by-step instructions. Let’s say you are writing a tutorial on how to use a specific software program. Instead of relying solely on text-based instructions, you can supplement your guide with relevant screenshots. This visual aid can make it easier for readers to follow along and understand the process.
As you can see, screenshots are versatile and powerful tools for communication and problem-solving. Whether you are a student, a professional, or simply someone who wants to share information effectively, knowing how to take and utilize screenshots can greatly enhance your digital experience.
Different Methods to Take a Screenshot in Windows 10
Windows 10 offers several built-in methods for taking screenshots. Let’s explore three of the most common options:
Using Print Screen Button
The simplest way to take a screenshot in Windows 10 is by pressing the Print Screen (PrtScn) button on your keyboard. This captures the entire screen and copies it to the clipboard, allowing you to paste it into an image editing program, document, or image viewer.
When you press the Print Screen button, Windows captures an image of your entire screen, including all open windows and applications. This is useful when you want to capture everything that is currently displayed on your screen, such as a webpage, a document, or a software interface.
After capturing the screenshot, you can open an image editing program, such as Paint or Photoshop, and paste the image from the clipboard. From there, you can crop, resize, or make any other edits to the screenshot before saving it.
Using Snipping Tool
Windows 10 also includes a handy tool called the Snipping Tool, which allows you to capture specific areas of your screen. You can choose to capture a rectangular or free-form shape, a window, or even the full screen. The Snipping Tool provides basic editing options such as highlighting, cropping, and adding annotations.
With the Snipping Tool, you have more control over what you capture. You can select a specific area of the screen that you want to capture, making it ideal for capturing a specific section of a webpage, a particular part of a document, or a specific window or dialog box.
After capturing the screenshot using the Snipping Tool, you can save it as an image file, copy it to the clipboard, or share it directly through email or other applications. The Snipping Tool also allows you to annotate the screenshot by adding text, highlighting important areas, or drawing shapes.
Using Snip & Sketch Tool
If you prefer a more advanced screenshot tool, Windows 10 offers the Snip & Sketch tool. This tool allows you to capture a screenshot, annotate it, and save it directly as an image file. It offers additional features like a time delay, which can be useful when capturing menus or tooltips.
The Snip & Sketch tool provides a more intuitive and user-friendly interface compared to the Snipping Tool. It allows you to capture screenshots using different modes, such as rectangular, free-form, window, or full screen. You can also set a time delay, which gives you a few seconds to set up the screen before the screenshot is taken.
After capturing the screenshot with the Snip & Sketch tool, you can use the built-in annotation tools to highlight important areas, add text, draw shapes, or blur sensitive information. Once you’re done editing, you can save the screenshot as an image file or share it directly through various applications and platforms.
Overall, Windows 10 provides multiple options for taking screenshots, allowing you to choose the method that best suits your needs. Whether you prefer a simple and quick capture with the Print Screen button, more precise selections with the Snipping Tool, or advanced features with the Snip & Sketch tool, you can easily capture and save screenshots of your screen in Windows 10.
Editing and Saving Your Screenshot
Once you’ve captured a screenshot, you may need to make adjustments or annotations before sharing or saving it. Here are some simple steps to edit your screenshot:
How to Edit a Screenshot
If you need to make edits to your screenshot, you can use various image editing programs available on Windows 10. Programs like Microsoft Paint, Paint 3D, or more advanced options like Adobe Photoshop allow you to crop, resize, add text or shapes, and apply filters to your screenshots.
Saving Your Screenshot in Different Formats
After editing your screenshot, it’s crucial to save it in a format that best suits your needs. Common image formats such as JPEG, PNG, and GIF are widely supported and preferred for sharing online or via email. Remember to choose the appropriate file format and quality settings based on your requirements.
Troubleshooting Common Screenshot Issues
While taking screenshots in Windows 10 is generally straightforward, you may occasionally encounter some issues. Let’s explore two common ones and how to resolve them:
Screenshot Not Working
If you find that the Print Screen button or any other screenshot method is not working, it’s likely due to an incompatible keyboard layout or conflicting software. You can try using the Windows Key + Print Screen shortcut to take a screenshot and automatically save it to your Pictures folder. If the issue persists, you may need to update your keyboard drivers or troubleshoot any conflicting software.
Screenshot Quality Issues
Sometimes, screenshots may appear blurry, distorted, or low in quality, especially when capturing videos or games. To improve the quality of your screenshots, ensure that you capture them at the highest resolution possible. Additionally, consider adjusting your screen settings, disabling any overlays or screen recording software, or using the dedicated screenshot tools mentioned earlier for better results.
Tips and Tricks for Effective Screenshots
To enhance your screenshot-taking experience, here are a few handy tips and tricks:
Capturing Active Window Only
If you want to capture only the active window instead of the entire screen, hold the Alt key while pressing the Print Screen button. This will copy the contents of the active window to the clipboard, allowing you to paste it into an image editor or document without any unnecessary background clutter.
Using Keyboard Shortcuts for Screenshots
To streamline the screenshot process, Windows 10 offers convenient keyboard shortcuts. For example, Windows Key + Print Screen captures the entire screen and saves it automatically, while Windows Key + Shift + S opens the Snip & Sketch tool to capture a specific region. Familiarize yourself with these shortcuts to capture screenshots more efficiently.
With these insights and techniques, you’re now equipped to confidently make screenshots in Windows 10. Whether you’re a casual user or a tech whiz, knowing how to capture, edit, and troubleshoot screenshots is a valuable skill to have. So, go ahead and explore the world of screenshots in Windows 10, and unleash your creativity and productivity.
Enhance Your Screenshots with GIFCaster
Ready to take your screenshot game to the next level? With GIFCaster, not only can you capture your screen, but you can also add a touch of personality and fun by incorporating GIFs. Transform your standard screenshots into engaging, creative expressions that can turn any work message into a delightful celebration. Don’t just share your screen; animate your communications and make them unforgettable. Ready to get started? Use the GIFCaster App today and add some flair to your digital conversations!