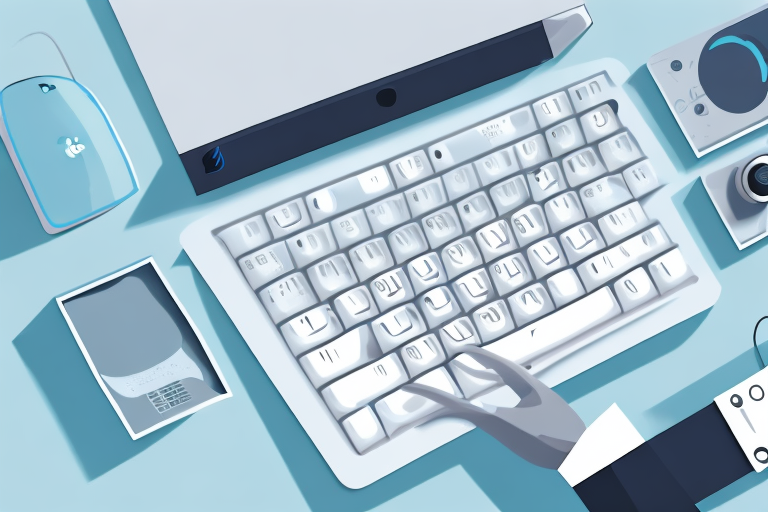
In today’s digital age, taking screenshots has become an essential skill for many computer users. Whether you need to capture a funny meme, save important information, or troubleshoot an issue, knowing how to take a screenshot can be incredibly useful. If you own a Logitech keyboard, this guide will walk you through the step-by-step process of capturing screenshots effortlessly.
Understanding the Function Keys on a Logitech Keyboard
Before we dive into the specifics of taking a screenshot on a Logitech keyboard, let’s familiarize ourselves with the various function keys that play a crucial role in this process.
Logitech keyboards are designed with user convenience in mind, and their function keys are no exception. These keys are strategically placed on the keyboard to provide quick access to various functions, making your computing experience more efficient and enjoyable.
The Role of the Print Screen Key
The Print Screen key, often abbreviated as “PrntScrn,” is a key commonly found on Logitech keyboards. When pressed, this key captures the entire screen and copies it to the clipboard. However, the image is not instantly saved and requires further steps to be taken.
Once you have captured the screen using the Print Screen key, you can paste the image into an image editing software, such as Paint or Photoshop, to save, edit, or share it. This feature comes in handy when you want to capture important information, share interesting content with others, or simply keep a record of something visually appealing.
Logitech understands the importance of this key and ensures its prominent placement on their keyboards, making it easily accessible for users.
Other Important Function Keys
Aside from the Print Screen key, Logitech keyboards typically include several other function keys that can enhance your screenshot-taking experience. These keys may vary depending on the model, but some common ones include the F1, F2, and F3 keys.
The F1 key, for example, often serves as a help key, providing instant access to contextual help within various applications. This can be particularly useful when you need guidance on how to take a screenshot or perform any other task.
The F2 key, on the other hand, is commonly used for renaming files or folders. This key can be helpful when you want to organize your screenshots by giving them meaningful names, making it easier to locate them later.
The F3 key is often associated with the search function, allowing you to quickly search for specific files, folders, or even text within documents. This can be beneficial when you have a large collection of screenshots and need to find a particular one without scrolling through numerous files.
These additional keys on Logitech keyboards not only enhance your screenshot-taking capabilities but also provide a seamless user experience by offering quick access to various functions and features.
Logitech understands that everyone’s needs are different, which is why they offer a wide range of keyboards with different function key layouts to cater to individual preferences. Whether you are a gamer, a creative professional, or a casual computer user, Logitech has a keyboard that suits your specific requirements.
Preparing to Take a Screenshot
Before we proceed with capturing a screenshot, it’s essential to ensure that your Logitech keyboard settings are configured correctly.
When it comes to taking a screenshot, having the right keyboard settings can make the process much smoother. With Logitech keyboards, you have the ability to customize the function keys and their corresponding actions. This means you can tailor your keyboard to suit your specific needs and preferences.
To verify your keyboard settings, navigate to the Logitech keyboard software on your computer. This software provides you with a user-friendly interface where you can easily customize various settings. Take a moment to explore the options available to you and familiarize yourself with the customization possibilities.
When checking your keyboard settings, pay particular attention to the Print Screen key. This key is the one we will primarily use for capturing screenshots. Double-check that it is set to capture the entire screen, as this is usually the default setting.
Checking Your Keyboard Settings
To verify your keyboard settings, navigate to the Logitech keyboard software on your computer. Here, you can customize the function keys and their corresponding actions. Double-check that the Print Screen key is set to capture the entire screen, as this is the key we will primarily use.
Having the ability to customize your keyboard settings is a great advantage. It allows you to personalize your keyboard to match your workflow and preferences. Whether you use your keyboard for gaming, design work, or general computer use, being able to assign specific functions to different keys can greatly enhance your productivity.
Take the time to explore the customization options available to you. Experiment with different key assignments and see what works best for you. Remember, you can always revert to the default settings if you’re not satisfied with your changes.
Opening the Screen You Want to Capture
Once your keyboard settings are in order, it’s time to open the screen or window that you wish to capture. This step is crucial as it ensures that you capture exactly what you want in your screenshot.
Before you proceed, take a moment to consider what you want to include in your screenshot. Is it a specific application window? Or perhaps a portion of your desktop? By clarifying your objective, you can ensure that you capture the right content.
Make sure the screen or window you want to capture is properly positioned on your desktop. This will help avoid any unnecessary cropping or editing later on. If necessary, rearrange your windows or resize them to achieve the desired layout.
Additionally, if you’re capturing content from within an application, make sure you have all the necessary windows or panels open. This will help provide context and ensure that your screenshot accurately represents the information or process you’re trying to capture.
By taking a moment to set up any necessary applications or windows in advance, you can streamline the process of capturing your screenshot. This will save you time and effort, allowing you to focus on the task at hand.
Steps to Take a Screenshot Using a Logitech Keyboard
Using the Print Screen Key Alone
Now that everything is prepared, you can take a screenshot using the Print Screen key alone. Locate the Print Screen key on your Logitech keyboard, usually found in the upper-right corner. Press this key once, and the entire screen will be captured and stored in the clipboard.
Taking a screenshot is a useful feature that allows you to capture and save what is currently displayed on your computer screen. Whether you want to capture an important moment in a video game, save a conversation for future reference, or document an error message for troubleshooting, knowing how to take a screenshot is essential.
By using the Print Screen key, Logitech keyboards provide a simple and convenient way to capture your screen without the need for any additional software. This key is often labeled as “PrtScn” or “Print Scr” and is easily identifiable on the keyboard.
Using the Print Screen with Other Keys
If you require more control over the screenshot, Logitech keyboards often offer additional functionality when combined with other keys. This allows you to capture specific areas or windows on your screen, providing greater flexibility in your screenshot-taking process.
One useful combination is using the Alt key along with the Print Screen key. By pressing these two keys simultaneously, you can capture an active window instead of the entire screen. This is particularly handy when you only need to capture a specific application or program window, rather than the entire desktop.
Another combination that Logitech keyboards support is using the Windows key, Shift, and S keys together. This key combination activates the built-in screenshot tool on Windows, allowing you to select the desired area to capture. This is especially useful when you want to capture a specific region of your screen, such as a specific section of a webpage or an error message that pops up on your screen.
Additionally, Logitech keyboards provide the option to capture a specific application window by pressing the Alt, Shift, and Print Screen keys simultaneously. This combination captures only the focused window on your screen, making it ideal for situations where you want to capture a specific program or application without any distractions from other windows or elements on your desktop.
With these additional key combinations, Logitech keyboards give you more control and flexibility in capturing screenshots. Whether you need to capture the entire screen, an active window, a specific region, or a particular application, Logitech keyboards have you covered.
Saving and Editing Your Screenshot
Once you’ve successfully captured a screenshot, it’s time to save and edit it according to your needs.
How to Save Your Screenshot
To save your screenshot, open an image editing application like Paint, Photoshop, or even the default Windows Paint 3D. Paste the screenshot from your clipboard into the application by pressing Ctrl + V. From there, you can save the image in your desired format and location on your computer.
Basic Editing Tools for Your Screenshot
If you need to make minor adjustments or add annotations to your screenshot, most image editing software provides basic editing tools. These tools allow you to crop, resize, add text, or highlight specific areas of your screenshot, ensuring that it effectively conveys your intended message.
Troubleshooting Common Issues
Like any technical process, taking screenshots may encounter occasional hiccups. Here are a few common issues and their possible solutions:
Screenshot Not Capturing
If pressing the Print Screen key doesn’t capture the desired screen, ensure that you haven’t accidentally disabled the screenshot function in your keyboard settings. Additionally, some applications or games may have specific hotkey configurations that override the default screenshot key combinations. In such cases, consult the documentation or support resources for the respective software.
Print Screen Key Not Working
If the Print Screen key doesn’t seem to be functioning at all, try restarting your computer and testing again. If the issue persists, consider updating your Logitech keyboard software or trying the keyboard on a different computer to determine if it’s a hardware-related problem.
With this comprehensive guide, you now have the knowledge and tools to take a screenshot on your Logitech keyboard effortlessly. Practice these methods and explore the various keyboard shortcuts to make the most out of your screenshot-taking experience. Remember, capturing screenshots is not only practical but can also be a creative way to express yourself in the digital realm.
Enhance Your Screenshots with GIFCaster
Now that you’re equipped with the knowledge to take screenshots using your Logitech keyboard, why not take your creativity to the next level? With GIFCaster, you can add a touch of personality and fun to your captures. Transform your standard screenshots into engaging, GIF-enhanced visuals that can turn even a mundane work message into a delightful celebration. Don’t just capture your screen; bring it to life with GIFCaster. Try the GIFCaster App today and start expressing yourself in a whole new way!