Microsoft Surface is a versatile device that allows you to accomplish various tasks, including capturing screenshots. Whether you want to save important information or share something interesting, taking a screenshot on your Microsoft Surface is a simple process. In this article, we will explore the different methods and tools available to help you capture screenshots effortlessly.
Understanding the Basics of Microsoft Surface
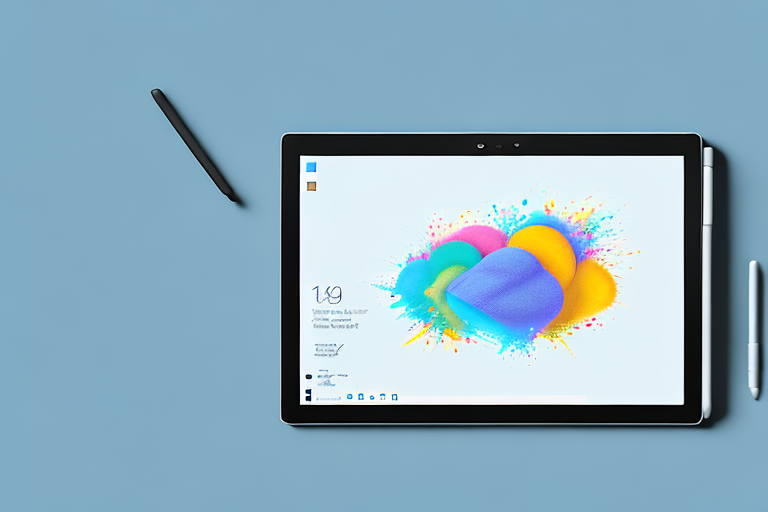
Before we dive into the process of taking a screenshot, let’s first familiarize ourselves with the design and functionality of Microsoft Surface. This innovative device combines the power of a laptop and the portability of a tablet, enabling you to work and play wherever you go.
With a sleek and modern design, Microsoft Surface offers a touchscreen display that responds to your touch, making it easy to navigate and interact with various applications and features. Additionally, it comes with a detachable keyboard and a Surface Pen, providing different options for input.
The Design and Functionality of Microsoft Surface
The design of Microsoft Surface reflects a seamless blend of aesthetics and practicality. Its slim profile and lightweight nature make it ideal for on-the-go use. Furthermore, it features a kickstand that allows you to adjust the viewing angle to your preference, ensuring a comfortable experience, whether you’re working or watching videos.
Microsoft Surface also boasts impressive functionality, thanks to its Windows operating system. This enables you to access a wide range of applications, multitask efficiently, and customize your device to suit your needs. Whether you’re a student, professional, or creative individual, Microsoft Surface offers the versatility to adapt to your unique requirements.
Furthermore, the device’s touchscreen display provides an immersive and intuitive user experience. The high-resolution screen delivers vibrant colors and sharp details, making movies, photos, and documents come to life. The responsive touch capabilities allow you to effortlessly navigate through menus, scroll through web pages, and interact with applications using simple gestures.
In addition to its touchscreen capabilities, Microsoft Surface comes with a detachable keyboard that seamlessly attaches to the device, transforming it into a fully functional laptop. The keyboard provides a comfortable typing experience, allowing you to work on documents, emails, and other tasks with ease. When you’re done, simply detach the keyboard and enjoy the convenience and portability of a tablet.
Key Features of Microsoft Surface
Microsoft Surface offers several features that enhance your overall computing experience. These features play a crucial role in making the screenshot process seamless and convenient. Let’s take a closer look at some of the key features:
- Touchscreen Display: The touchscreen display on Microsoft Surface eliminates the need for external peripherals when interacting with your device. It provides a responsive and intuitive interface for capturing screenshots. Whether you want to capture an entire webpage or a specific section, the touchscreen display allows you to effortlessly navigate and select the desired content.
- Surface Pen: The Surface Pen is a powerful tool that allows you to write, draw, and annotate directly on your device’s screen. It proves to be handy when capturing particular portions of your screen precisely. Whether you need to highlight specific details, draw attention to a particular area, or add annotations to your screenshots, the Surface Pen offers precise control and enhances your ability to capture and edit screenshots effectively.
- Windows Snipping Tool: Microsoft Surface comes equipped with the Windows Snipping Tool, a built-in utility that simplifies the process of capturing screenshots. With this tool, you can easily capture screenshots of specific windows, rectangular areas, or the entire screen. The Snipping Tool provides various annotation options, allowing you to add text, highlight areas, and draw shapes on your screenshots. It also offers the ability to save, copy, or share your screenshots directly from the tool, making it a convenient and efficient solution for capturing and managing screenshots.
With these key features, Microsoft Surface empowers you to capture and customize screenshots effortlessly. Whether you’re a student conducting research, a professional creating presentations, or simply someone who wants to capture and share interesting content, Microsoft Surface provides the tools and functionality to meet your screenshot needs.
Preparing Your Microsoft Surface for Screenshots
Before getting into the various methods of taking a screenshot, it’s important to ensure that your Microsoft Surface is properly set up to capture and save screenshots effectively. Let’s go over some essential steps to prepare your device.
Checking Your Device’s Settings
Start by checking your device’s settings to ensure that everything is optimized for capturing screenshots. Go to the “Settings” menu and navigate to the “System” section. Look for the “Screen” category, where you can adjust the brightness, display resolution, and other display-related settings.
Make sure that the display settings are suitable for your needs. Brightness, for example, plays a significant role in the visibility of your screenshots. Adjust it according to your preference before capturing your first screenshot.
Ensuring Your Screen Display is Ready
Another important factor to consider is the content displayed on your screen. Before taking a screenshot, make sure that the content you wish to capture is appropriately displayed. This could include web pages, documents, images, or application interfaces.
Ensure that the content is loaded correctly and that you navigate to the specific section you want to include in your screenshot. Taking a few moments to prepare your screen will help you capture a clean and accurate screenshot.
Different Methods to Take a Screenshot
Microsoft Surface provides multiple methods to capture screenshots, allowing you to choose the one that suits your workflow best. Let’s explore the different options available:
Using Keyboard Shortcuts
Note: This method applies to most devices running Windows 10 and Windows 11.
One of the quickest ways to take a screenshot on your Microsoft Surface is by using keyboard shortcuts. Press the “Print Screen” or “PrtSc” key on your keyboard. This instantly captures a screenshot of your entire screen, which you can then save or annotate as needed.
To capture a specific portion of your screen, use the “Windows key + Shift + S” keyboard shortcut. This will enable the Snipping Tool, allowing you to select the desired area and automatically saving the screenshot to your clipboard.
Utilizing the Surface Pen
If you prefer a more hands-on approach, Microsoft Surface offers the Surface Pen as a convenient tool for capturing screenshots. Simply press and hold the top button on your Surface Pen until you see a white circle appear on your screen. Then, tap anywhere on the screen to capture a screenshot of the entire display.
To capture a specific portion of the screen, press and hold the top button on the Surface Pen, then draw a circle around the area you want to capture. Once you release the button, the screenshot will be saved to your device.
Taking a Screenshot with the Snipping Tool
The Windows Snipping Tool is a versatile utility that allows you to capture screenshots with precision. To access the Snipping Tool, simply search for it in the Windows search bar or find it in the main menu. Once opened, click on “New” to initiate the screenshot capture process.
The Snipping Tool provides different options for capturing screenshots, including capturing the full screen, a specific window, a rectangular area, or a free-form shape. Choose the option that suits your requirements, capture the desired portion, and save the screenshot for further editing or sharing.
Editing and Saving Your Screenshots
Once you’ve captured a screenshot, Microsoft Surface offers various editing tools and saving options to enhance and store your screenshots. Let’s explore some basic editing functions and saving methods:
Basic Editing Tools on Microsoft Surface
Microsoft Surface provides built-in editing tools that allow you to enhance your screenshots. Once you’ve captured a screenshot, open it using the default image editing application on your device. Here, you can crop, resize, add text, draw, or annotate your screenshots.
Experiment with these editing tools to highlight important elements, blur sensitive information, or add annotations to your screenshots. These tools help you communicate your message more effectively when sharing your screenshots.
Saving Your Screenshot in Different Formats
When it comes to saving your screenshots, Microsoft Surface offers flexibility in choosing the file format. Depending on your preferences and requirements, you can save your screenshots in various formats, including JPEG, PNG, or GIF.
To save your screenshot in a specific format, navigate to the image editing application or the file explorer on your Microsoft Surface. Locate the screenshot file and choose the desired format from the available options. Save the file to the destination of your choice, and your screenshot will be ready for use.
Troubleshooting Common Screenshot Issues
Taking screenshots on Microsoft Surface is usually a straightforward process. However, like any technology, you may encounter occasional issues. Let’s discuss some common problems and their solutions:
Resolving Keyboard Shortcut Problems
If your keyboard shortcuts for taking screenshots are not working, ensure that your device is updated to the latest version of Windows. Outdated system software might cause conflicts with the shortcut functionality. Additionally, perform a quick restart to clear any temporary issues that may be affecting your device’s performance.
Fixing Snipping Tool Errors
If you’re experiencing errors or glitches while using the Snipping Tool, try restarting the application or your device. This often resolves any temporary issues or conflicts that may arise. If the problem persists, consider updating the Snipping Tool or seeking assistance from Microsoft support.
In Conclusion
Taking a screenshot on your Microsoft Surface is a simple yet powerful feature that allows you to capture and preserve valuable information. Whether you’re a student, professional, or casual user, knowing how to take a screenshot can greatly enhance your productivity and communication.
By understanding the basics of Microsoft Surface, preparing your device effectively, exploring different methods of capturing screenshots, utilizing editing tools, and troubleshooting common issues, you’ll become a master at taking screenshots on your Microsoft Surface in no time. So, get ready to capture and share your screen with confidence!
Enhance Your Screenshots with GIFCaster
Now that you’re equipped with the knowledge to take screenshots on your Microsoft Surface, why not take it a step further with GIFCaster? With GIFCaster, you can add a touch of personality and creativity to your screenshots by incorporating fun and engaging GIFs. Transform your standard work messages into delightful visual experiences that capture attention and express your unique style. Ready to make your screenshots stand out? Use the GIFCaster App today and start sharing your screen content in a whole new way!