In today’s digital age, capturing and sharing moments from your smartphone has never been easier. Whether you want to showcase a funny conversation, save an important document, or simply share something interesting with others, screenshots have become an essential feature on our smartphones. If you’re a proud owner of the sleek and powerful Galaxy A13, you may be wondering how to take the perfect screenshot. In this step-by-step guide, we’ll walk you through the process of capturing screenshots on your Galaxy A13, as well as some handy tips and tricks to enhance your screenshot experience.
Understanding the Basics of Galaxy A13
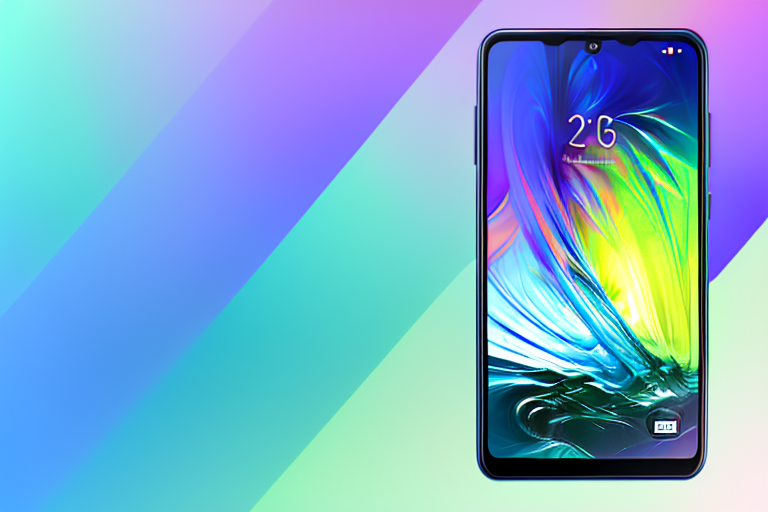
Before we dive into the intricacies of taking screenshots on your Galaxy A13, let’s familiarize ourselves with this remarkable device. The Galaxy A13 is packed with impressive features that make it a reliable companion for both work and play. Its vibrant display, powerful processor, and long-lasting battery ensure a smooth and enjoyable user experience. Additionally, the Galaxy A13 boasts a high-resolution camera, perfect for capturing stunning photos and videos. Knowing the ins and outs of your device will undoubtedly enhance your ability to take flawless screenshots.
Key Features of Galaxy A13
When it comes to taking screenshots, understanding the key features of your Galaxy A13 can greatly improve your efficiency. One notable feature is the large, borderless display, which allows you to capture full-screen screenshots effortlessly. Additionally, the advanced camera technology of the Galaxy A13 ensures crystal-clear screenshots, enabling you to capture every detail with precision. Familiarizing yourself with these features will help you make the most out of your screenshot-taking endeavors.
Navigating the Galaxy A13 Interface
Before we get into the nitty-gritty of taking screenshots, it’s vital to understand how to navigate your Galaxy A13 interface. The interface of the Galaxy A13 is user-friendly and intuitive, allowing seamless access to various functions and settings. Getting acquainted with the interface will ensure that you can easily locate the screenshot capabilities and save your screenshots effortlessly.
Preparing Your Galaxy A13 for Screenshots
Now that we have a solid understanding of the Galaxy A13, let’s prepare our device for capturing screenshots. Taking a moment to check your settings and ensure that your software is up to date will make the screenshot-taking process a breeze.
Checking Your Settings
Before you begin capturing screenshots, it’s essential to check your device settings to ensure everything is optimized for your needs. Navigate to the settings menu on your Galaxy A13 and locate the “Screen capture” or “Screenshot” section. Here, you can customize various options such as the screenshot file format, capture method, and more. Take your time to explore these settings and fine-tune them to your liking.
Updating Your Software
To maintain optimal performance and access the latest features, it’s crucial to keep your Galaxy A13’s software up to date. Regular software updates often include bug fixes and enhancements that can improve the overall screenshot experience. Go to your device’s settings and navigate to the “Software Update” section to check for any available updates. If an update is available, make sure to install it before proceeding with capturing screenshots.
Different Methods to Take a Screenshot
Now that your Galaxy A13 is primed for capturing screenshots let’s explore the various methods available at your fingertips. Depending on your preference, you can choose from three different methods to take a screenshot on your Galaxy A13: the button combination method, the palm swipe method, and the assistant menu method. Let’s delve into each of these methods to figure out which one suits you best.
Using the Button Combination Method
The button combination method is the most common way to capture a screenshot on the Galaxy A13. To take a screenshot using this method, simply press and hold the power button and the volume down button simultaneously for a few seconds. You’ll see a visual indication that a screenshot has been captured, and it will be saved to your device’s gallery. This method is quick, convenient, and works in just about any screen or app.
Using the Palm Swipe Method
If you prefer a more hands-free approach, the palm swipe method may be the perfect fit for you. To activate this feature, go to your device’s settings, locate the “Advanced features” section, and enable the “Palm swipe to capture” option. Once enabled, simply swipe the edge of your hand horizontally across the screen to capture a screenshot. This method is especially useful if you’re multitasking or have limited mobility in your hands.
Using the Assistant Menu Method
For those who enjoy the convenience of having quick access to numerous features, the assistant menu method is worth exploring. The assistant menu is an accessibility feature on the Galaxy A13 that provides a floating menu with various shortcuts, including the screenshot function. To enable this feature, go to your device’s settings, navigate to the “Accessibility” section, and activate the “Assistant menu.” Once enabled, a floating menu will appear on your screen, allowing you to capture screenshots with a single tap. This method is incredibly handy if you frequently use other accessibility features or require quick access to various functions.
Accessing and Managing Your Screenshots
Now that you’ve successfully captured a screenshot on your Galaxy A13, let’s explore how to access and manage your screenshots effectively. Having easy access to your screenshots and the ability to edit and share them seamlessly will enhance your overall experience.
Finding Your Screenshots in the Gallery
After capturing a screenshot, it will be automatically saved to your device’s gallery for easy access. To locate your screenshots, open the gallery app on your Galaxy A13 and navigate to the “Screenshots” folder. Here, you’ll find all your saved screenshots neatly organized, ready to be viewed and shared. If you’re struggling to find a specific screenshot, there is often a search bar or filter option available within the gallery app to streamline your search.
Editing Your Screenshots
While capturing a screenshot is a straightforward process, sometimes you may wish to enhance or edit your screenshots further. The Galaxy A13 offers a range of built-in editing tools, allowing you to crop, annotate, or add filters to your screenshots. Simply open the gallery app, select the desired screenshot, and tap the “Edit” button or the pencil icon. From here, you can unleash your creativity and transform your screenshots into visually captivating masterpieces.
Sharing Your Screenshots
Once you’ve captured and edited your screenshots to perfection, it’s time to share them with the world. The Galaxy A13 provides numerous sharing options, depending on your preferences. You can share your screenshots via email, messaging apps, social media platforms, or even save them to cloud storage for safekeeping. To share a screenshot, open the gallery app, select the screenshot you wish to share, and tap the share icon. From there, choose your desired sharing method and watch your screenshots spread far and wide.
Troubleshooting Common Screenshot Issues
While capturing screenshots on your Galaxy A13 is usually a smooth and seamless process, you may encounter a few hiccups along the way. Don’t worry – we’ve got you covered when it comes to troubleshooting common screenshot issues. Let’s address some potential problems and find the solutions.
What to Do When Screenshots Aren’t Saving
If you find that your screenshots aren’t saving to your device, there are a few troubleshooting steps you can take. First, ensure that you have sufficient storage space on your device to save new screenshots. If your storage is low, try deleting unnecessary files or transferring them to an external storage device. Additionally, double-check your device settings to ensure that the default screenshot save location is set to internal storage or SD card, depending on your preference. Lastly, consider restarting your device to refresh its system and clear any temporary glitches that may hinder the saving process.
Resolving Issues with Screenshot Quality
If you’re experiencing issues with screenshot quality, such as blurry or pixelated images, there are a few potential causes and solutions to explore. Firstly, ensure that your device’s display is clean and free from smudges or fingerprints that may affect the quality of your screenshots. Additionally, verify that you’re using the appropriate screenshot capture method for your specific needs. For example, if you require high-resolution screenshots, the button combination method may be more suitable than the palm swipe method. Lastly, check if there are any available software updates for your device and install them if necessary, as updates often include improvements to image quality.
Addressing Problems with Screenshot Shortcuts
If you’re encountering issues with activating the screenshot shortcuts on your Galaxy A13, there are a few troubleshooting steps you can take. Firstly, double-check that the respective method you’re using is correctly enabled in your device settings. For example, if you’re using the palm swipe method, navigate to the settings menu, locate the “Advanced features” section, and ensure that the “Palm swipe to capture” option is turned on. If the issue persists, consider restarting your device or reaching out to the official Samsung support channels for further assistance.
Now that you’re armed with a step-by-step guide on how to screenshot on your Galaxy A13, it’s time to put your newfound knowledge into action. Whether you’re capturing hilarious conversations, preserving important information, or sharing noteworthy moments, screenshots have proved to be an invaluable feature for smartphone users. With the Galaxy A13’s powerful capabilities and your enhanced understanding of screenshot techniques, you’ll be able to capture every moment with ease and precision. So go ahead, explore the world of screenshots, and let your creativity soar!
Enhance Your Screenshots with GIFCaster
Ready to take your Galaxy A13 screenshots to the next level? With GIFCaster, you can add a burst of fun and creativity to your captures. Transform a simple screen grab into an engaging visual message by incorporating animated GIFs. Whether you’re looking to spice up a work message or share a laugh with friends, GIFCaster is your go-to tool for making every screenshot a celebration of the moment. Don’t just capture your screen; animate it with personality! Use the GIFCaster App today and let your screenshots come alive.