Taking screenshots can be a useful tool for a variety of purposes, whether you need to capture an image for work, save a picture for reference, or simply share something interesting with friends or colleagues. Windows 10 comes with a built-in tool called the Snipping Tool that makes it easy to take and edit screenshots. In this article, we will explore how to use the Snipping Tool effectively on your Windows 10 device.
Understanding the Snipping Tool
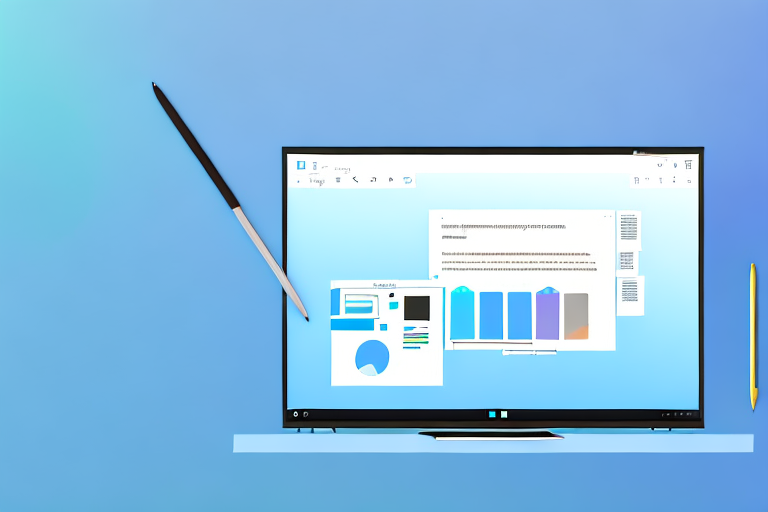
The Snipping Tool is a lightweight screenshot utility that allows you to capture all or part of your screen with just a few clicks. It comes with several modes that cater to different screenshot requirements, making it a versatile tool for capturing images. Let’s delve into the basics of the Snipping Tool.
The Snipping Tool is included with Windows 10, and you can find it by searching for it in the Start menu. Once opened, you will be presented with a small window that displays the Snipping Tool interface.
The Snipping Tool interface consists of four fundamental elements:
- A menu bar that provides access to various settings and options.
- A toolbar that contains buttons for different capture modes.
- An area where you can preview and annotate captured screenshots.
- A tray that holds your captured screenshots.
Let’s take a closer look at each of these elements. The menu bar is located at the top of the Snipping Tool window and offers a range of options to customize your screenshot experience. From here, you can choose the default save location, set up keyboard shortcuts, and adjust other preferences to suit your needs.
Below the menu bar, you’ll find the toolbar, which houses the different capture modes available in the Snipping Tool. Each mode serves a specific purpose and allows you to capture screenshots in different ways. Whether you need to capture a specific area, a window, or the entire screen, the Snipping Tool has you covered.
Once you’ve selected a capture mode, the Snipping Tool will display a preview of your screenshot in the designated area. This preview window allows you to review your capture and make any necessary annotations or edits before saving or sharing the image. You can draw on the screenshot, highlight important details, or add text to provide context.
Finally, the tray at the bottom of the Snipping Tool window stores all your captured screenshots. This convenient feature allows you to easily access and manage your screenshots without cluttering your desktop or storage folders. You can view, delete, or export your screenshots directly from the tray.
Different Modes of the Snipping Tool
The Snipping Tool offers four capture modes:
- Free-form Snip: This mode allows you to draw any shape around the area you want to capture. It gives you the flexibility to capture irregular shapes or specific sections of an image.
- Rectangular Snip: This mode lets you capture a rectangular shape by dragging the cursor over the desired area. It’s perfect for capturing specific portions of a webpage, document, or application.
- Window Snip: With this mode, you can capture the entire window of an application or program. It’s particularly useful when you want to capture a specific window without any distractions from the rest of the screen.
- Full-screen Snip: This mode captures the entire screen of your Windows 10 device. It’s ideal for capturing the entire webpage, document, or any other content that extends beyond the visible area.
Now that you understand the basics of the Snipping Tool, let’s continue by exploring how to set up the Snipping Tool on your Windows 10 device.
Setting Up the Snipping Tool on Your Windows 10
Before you can start using the Snipping Tool, you may need to locate it and pin it to your taskbar for easy access. Let’s walk through the process:
The Snipping Tool is a handy utility that allows you to capture screenshots on your Windows 10 computer. Whether you want to capture a specific area of your screen or the entire screen, the Snipping Tool makes it easy to do so. However, before you can start using this useful tool, you need to locate it and pin it to your taskbar.
Locating the Snipping Tool
To find the Snipping Tool, simply type “Snipping Tool” in the search bar located on the taskbar. As you type, Windows 10 will display search results, and you will see the Snipping Tool application among them. It may be listed under “Best match” or “Apps.” Once you locate the Snipping Tool, click on it to launch the application.
Once you have launched the Snipping Tool, you will be greeted with a small window that provides you with various options for capturing screenshots. You can choose to capture a rectangular snip, a free-form snip, a window snip, or a full-screen snip. Each option allows you to capture a different type of screenshot, depending on your needs.
Pinning the Snipping Tool to Your Taskbar
If you use the Snipping Tool frequently, you can save time by pinning it to your taskbar. By pinning the Snipping Tool to your taskbar, you can access it with just a single click, without having to search for it every time you want to use it.
To pin the Snipping Tool to your taskbar, right-click on the Snipping Tool application in the search results. A context menu will appear, displaying various options. From the options, select “Pin to taskbar.” Windows 10 will now add the Snipping Tool icon to your taskbar, making it easily accessible.
Now, whenever you want to use the Snipping Tool, all you have to do is click on the icon on your taskbar, and the Snipping Tool will launch instantly. This convenient feature allows you to capture screenshots quickly and efficiently, without any hassle.
With the Snipping Tool pinned to your taskbar, you can take screenshots on the fly, whether you need to capture an important document, save an interesting article, or share a funny meme with your friends. The Snipping Tool is a versatile tool that can be used for various purposes, making it a valuable addition to your Windows 10 computer.
Taking a Screenshot with the Snipping Tool
Now that you have set up the Snipping Tool, it’s time to learn how to take a screenshot using this handy tool. Follow the steps below:
Selecting the Area for Your Screenshot
After opening the Snipping Tool, click on the “New” button in the toolbar. This will activate the screenshot mode.
Next, you can select the specific area you want to capture by clicking and dragging the cursor over the desired portion of your screen. The selected area will be highlighted, and the captured screenshot will immediately appear in the Snipping Tool window.
Using the Snipping Tool’s Delay Feature
If you need to capture a screenshot of a menu or tooltip that disappears quickly, the Snipping Tool offers a delay feature. This allows you to set a delay of up to five seconds before the screenshot is captured.
To use the delay feature, click on the “Delay” button in the toolbar after selecting the “New” button. A drop-down menu will appear, allowing you to choose a delay duration. Once the delay is set, position your cursor over the desired area, and the Snipping Tool will capture the screenshot automatically after the specified time.
Editing and Annotating Your Screenshots
The Snipping Tool provides basic editing and annotation features to enhance your screenshots. Let’s explore how you can edit and annotate your captured screenshots:
Adding Highlights and Text to Your Screenshot
After capturing a screenshot, you can use the Pen and Highlighter tools located in the toolbar to draw attention to specific elements or add text annotations. Simply click on the Pen or Highlighter icon and choose the desired color and thickness. Then, use your mouse or touchpad to draw directly on the screenshot.
Erasing and Undoing Edits
If you make a mistake or want to remove an annotation, the Snipping Tool provides an eraser function. Click the Eraser icon, and then use your mouse or touchpad to erase unwanted annotations. Additionally, you can use the Undo button in the toolbar to revert any changes made to your screenshot.
Saving and Sharing Your Screenshots
Once you have captured and edited your screenshot, it’s time to save and share it. The Snipping Tool offers several options for saving and sharing your screenshots.
Saving Your Screenshot in Different Formats
To save your screenshot, go to the File menu in the Snipping Tool and select “Save As.” Choose a location on your computer and enter a name for the file. You can also select the desired file format, such as PNG, JPEG, or GIF, to save your screenshot.
Sharing Your Screenshot via Email or Cloud Storage
If you want to share your screenshot with others, you can utilize email or cloud storage services. After saving your screenshot, you can attach it to an email or upload it to a cloud storage platform, such as Google Drive or Dropbox, and share the link with your intended recipients.
Using the Snipping Tool on Windows 10 is a convenient way to capture and edit screenshots. Whether you need to save important information or share interesting content, the Snipping Tool provides all the necessary features to meet your screenshot needs. Start using the Snipping Tool today and enhance your screenshot capturing experience on Windows 10.
Take Your Screenshots to the Next Level with GIFCaster
Ready to add a dash of fun to your screenshots? With GIFCaster, not only can you capture your screen, but you can also animate your images with a variety of GIFs. Turn a simple work message into a delightful celebration or express your creativity in ways that static screenshots simply can’t match. Elevate your screenshot game and make your communications more engaging. Use the GIFCaster App today and start sharing screenshots that truly stand out!